What Is The Process Of Paint Protection Film Installation? A Step-by-Step Look Inside the Bay
Most car owners ask the same question before booking a paint protection film service: what actually happens to my vehicle in that bay? It's a fair question. You're trusting a shop with a vehicle you've worked hard for, and the quality of the installation determines how long the film performs, how invisible it looks, and whether your paint stays factory-fresh underneath.
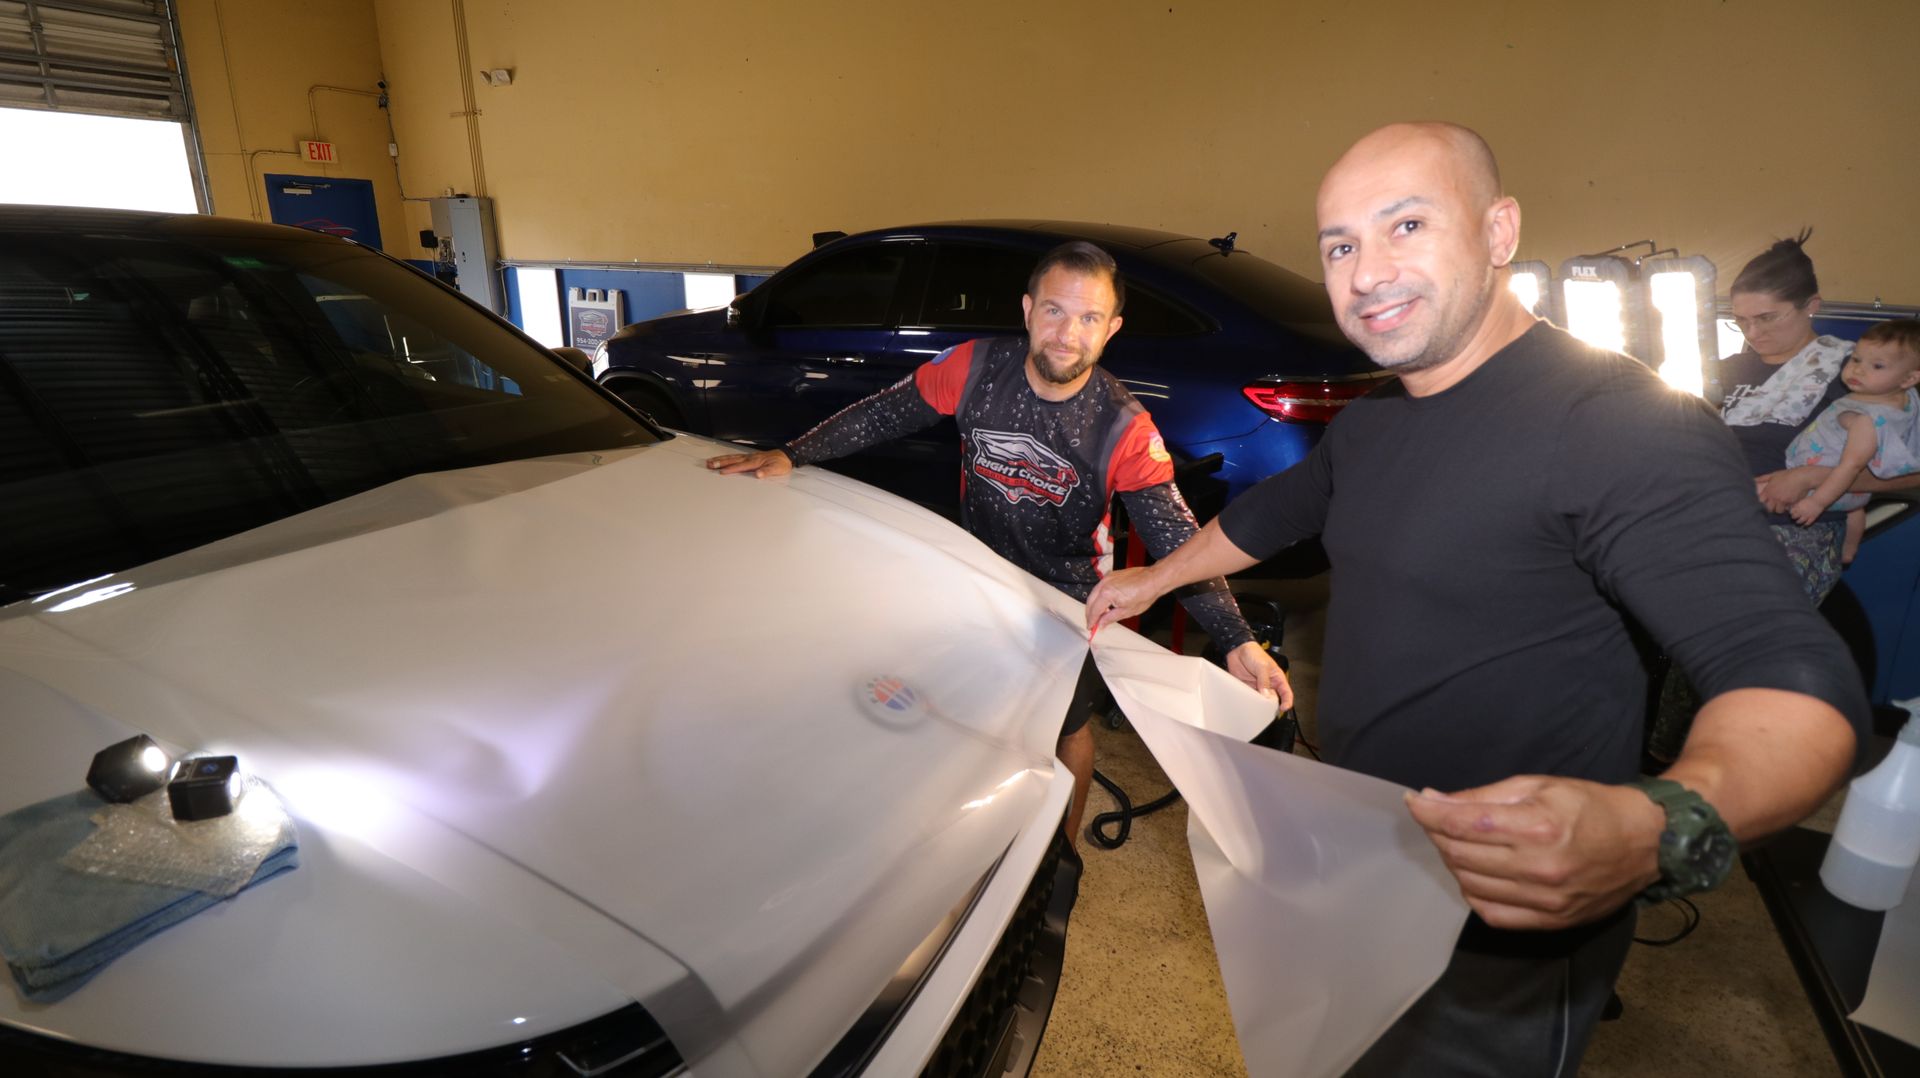
At
Right Choice Auto Spa, we believe transparency builds confidence. So in this guide, we're walking you through every stage of the paint protection film installation process, from the first wash to the final inspection, exactly the way our team approaches it.
What Is Paint Protection Film and Why Does Installation Quality Matter?
Paint protection film, often called PPF or clear bra, is a thermoplastic polyurethane layer applied directly over a vehicle's painted surfaces. It absorbs the impact of rock chips, road debris, bug splatter, bird droppings, tree sap, and UV exposure, all of which would otherwise eat into your clear coat over time.
The film itself is impressive technology. Modern PPF is optically clear, self-healing under heat, and engineered to last several years without yellowing. But here's the part most car owners overlook: the film is only as good as the hands that install it.
How PPF Protects Your Vehicle's Paint
Once applied, PPF creates a sacrificial barrier between your factory paint and the outside world. Small scratches and swirl marks vanish on their own when warmed by sunlight or warm water. Stone chips that would have dented your clear coat hit the film instead. UV rays that fade pigment over time get filtered out before they reach the paint.
Why the Installation Process Determines Long-Term Performance
A poorly installed film lifts at the edges, traps air bubbles, develops visible seams, or peels within months. A properly installed film disappears into the panel and stays put for years. The difference comes down to surface prep, technique, environment, and patience, and that's what the process below is designed to deliver.

Step 1: Pre-Installation Consultation and Coverage Planning
Before we touch a vehicle, we sit down with the customer to map out coverage. Not every car needs full-body film, and not every owner wants the same finish.
Common coverage options include partial front (bumper, hood leading edge, mirrors), full front (entire hood, full bumper, fenders, mirrors, headlights), track pack (front plus rocker panels and A-pillars), and full-body wrap. We also confirm finish preferences: standard gloss for a factory look, matte for a stealth finish, or satin for somewhere in between.
This planning step matters because it determines how the film is cut, how many panels are wrapped, and how long the installation will take.
Step 2: Vehicle Inspection and Decontamination
Once the plan is set, the vehicle moves into our prep stage. This is where most of the work happens, even though customers rarely see it.
Hand Wash with pH-Balanced Shampoo
We start with a thorough hand wash using a pH-balanced car shampoo and the two-bucket method. This removes loose dirt, road film, and any residue that could trap under the PPF.
Clay Bar Treatment for Bonded Contaminants
Washing alone doesn't get everything. Bonded contaminants like brake dust, industrial fallout, tar, and tree sap residue stay locked to the clear coat until they're physically lifted off. We use a clay bar with lubricant to glide over each panel and pull these particles out of the paint, leaving the surface glass-smooth.
Isopropyl Alcohol Wipe-Down
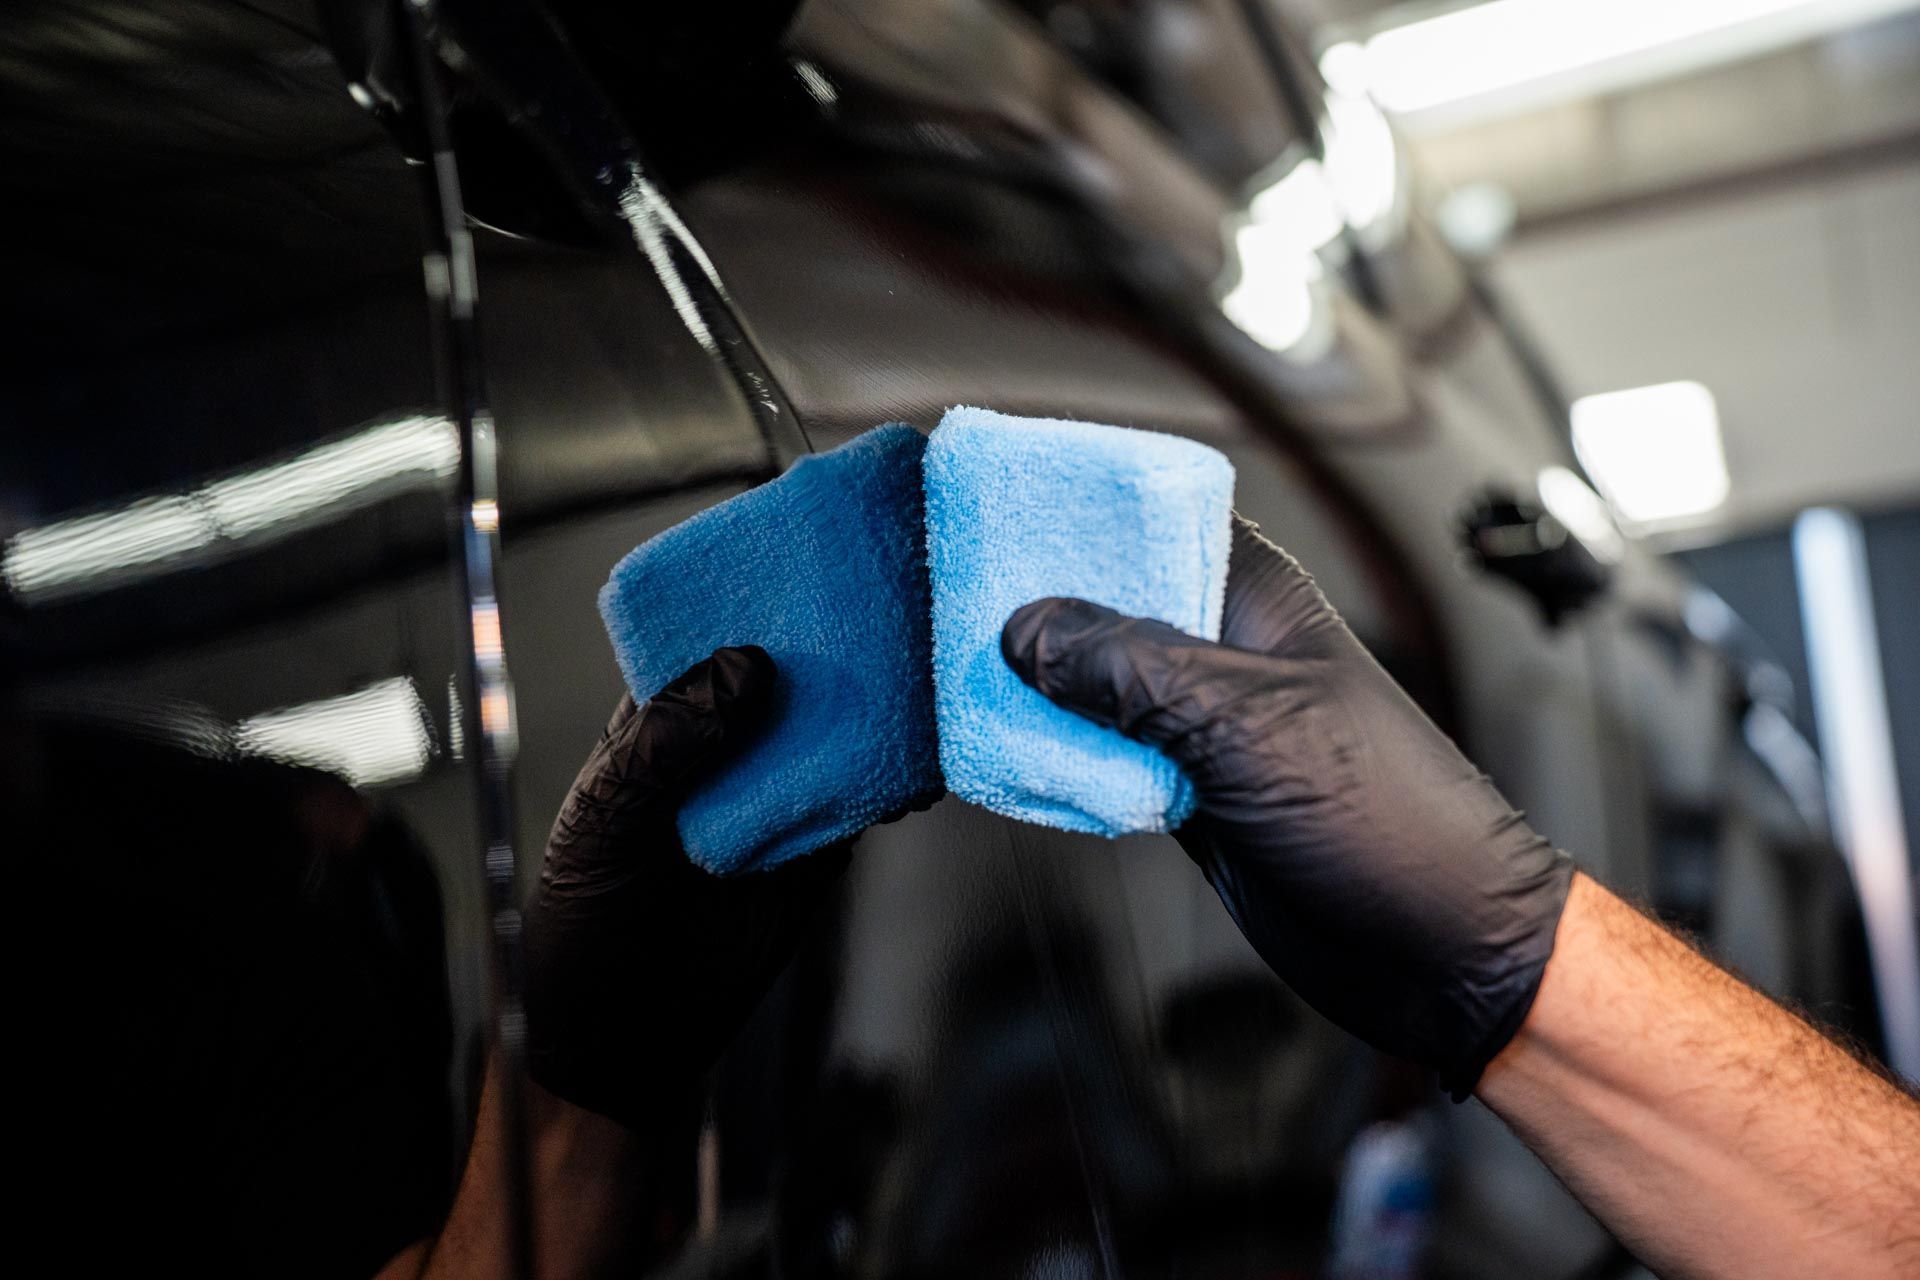
The final prep step is a wipe-down with a 70% isopropyl alcohol solution. This strips away any remaining oils, waxes, silicones, or polish residue. Without this step, the PPF adhesive can't fully bond to the paint, and the film will eventually lift.
We use clean, lint-free microfiber towels for this stage, working one panel at a time so no contaminants get reintroduced.
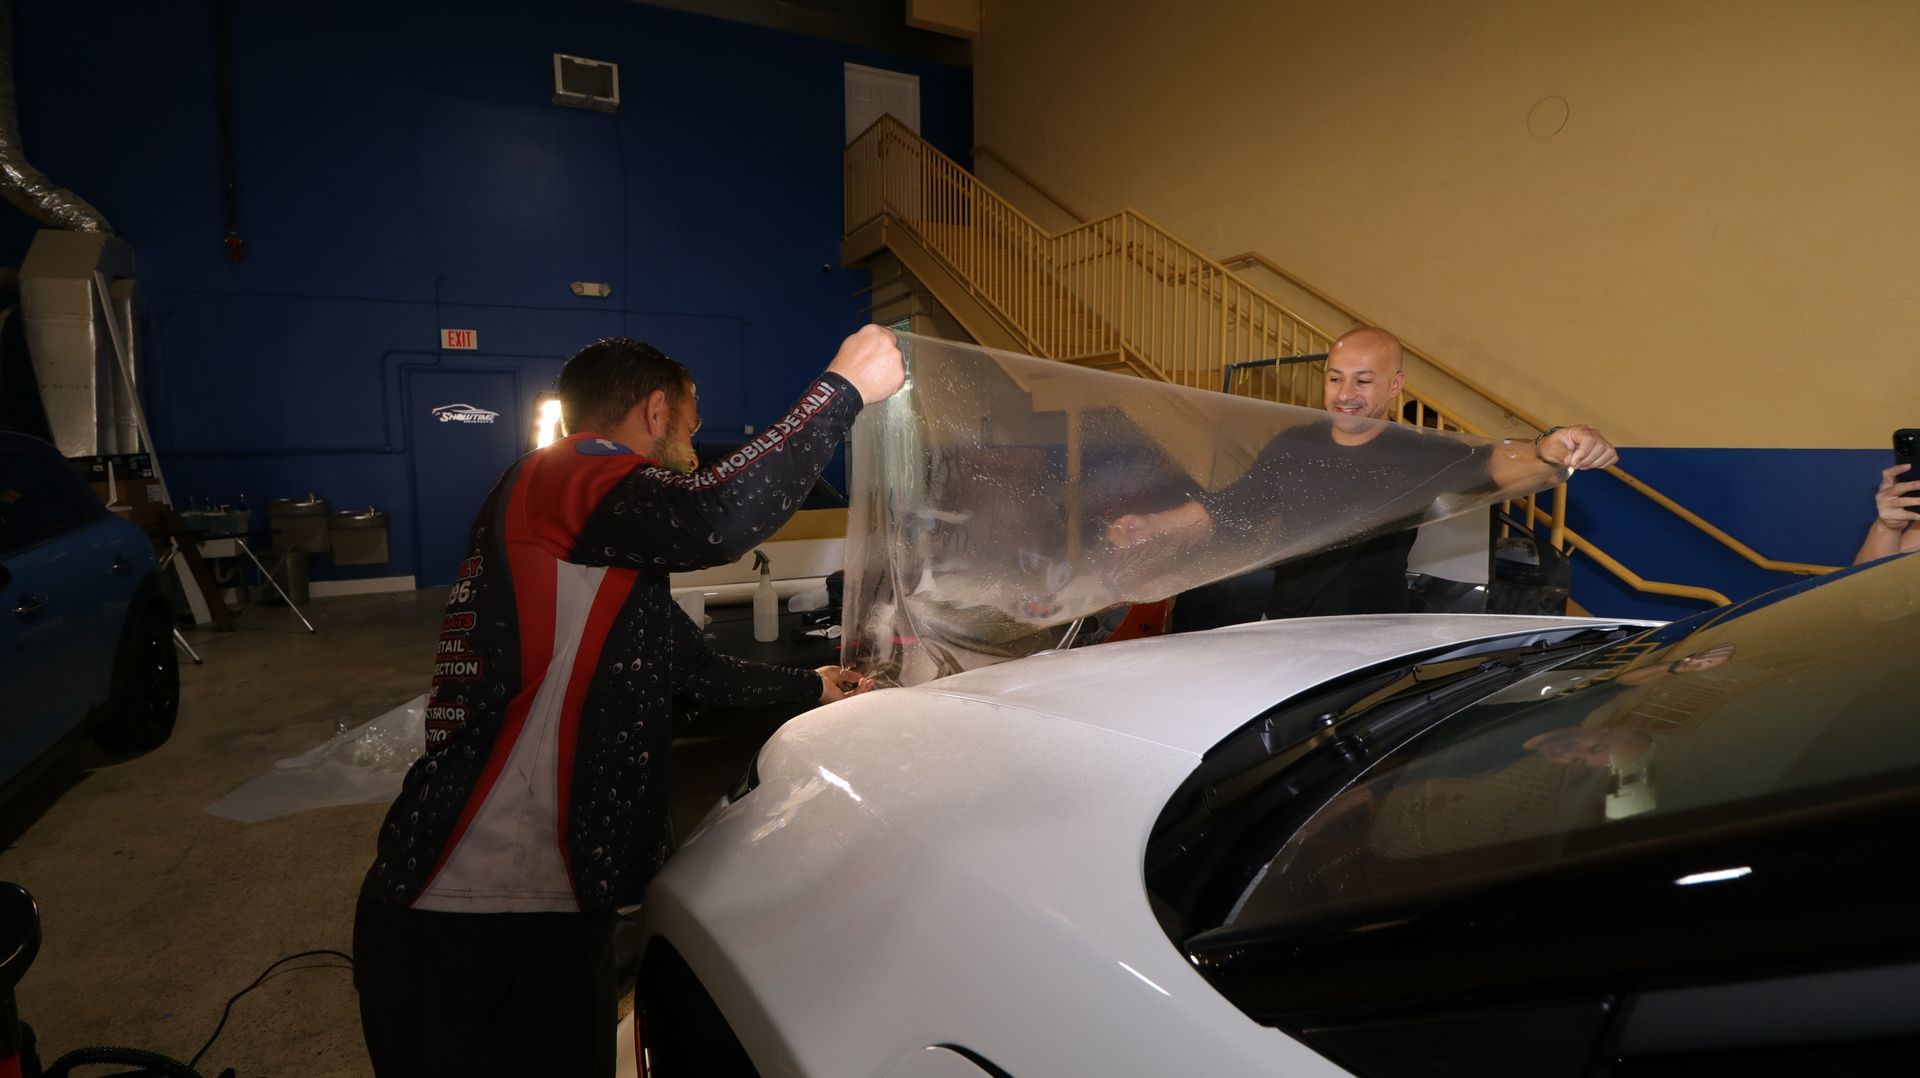
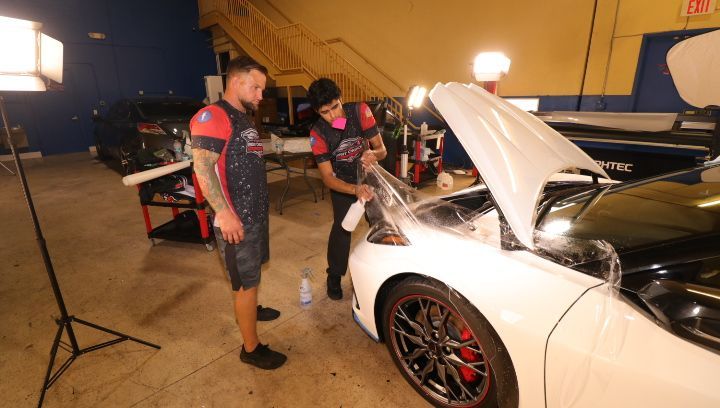
Step 3: Cutting the Film
Modern PPF installation uses one of two cutting approaches. The first is plotter-cut or pre-cut templates, where a computer-controlled plotter cuts the film to match the exact dimensions of every panel on your specific vehicle make and model. This eliminates the need to use a blade anywhere near your paint.
The second approach is bulk cutting, where the installer trims the film by hand on the vehicle. This is sometimes needed for unusual coverage areas or non-templated vehicles, but it requires extreme care to avoid scoring the clear coat.
Wherever possible, we prefer plotter-cut patterns. They produce cleaner edges, faster installations, and zero risk of accidental blade contact with the paint.
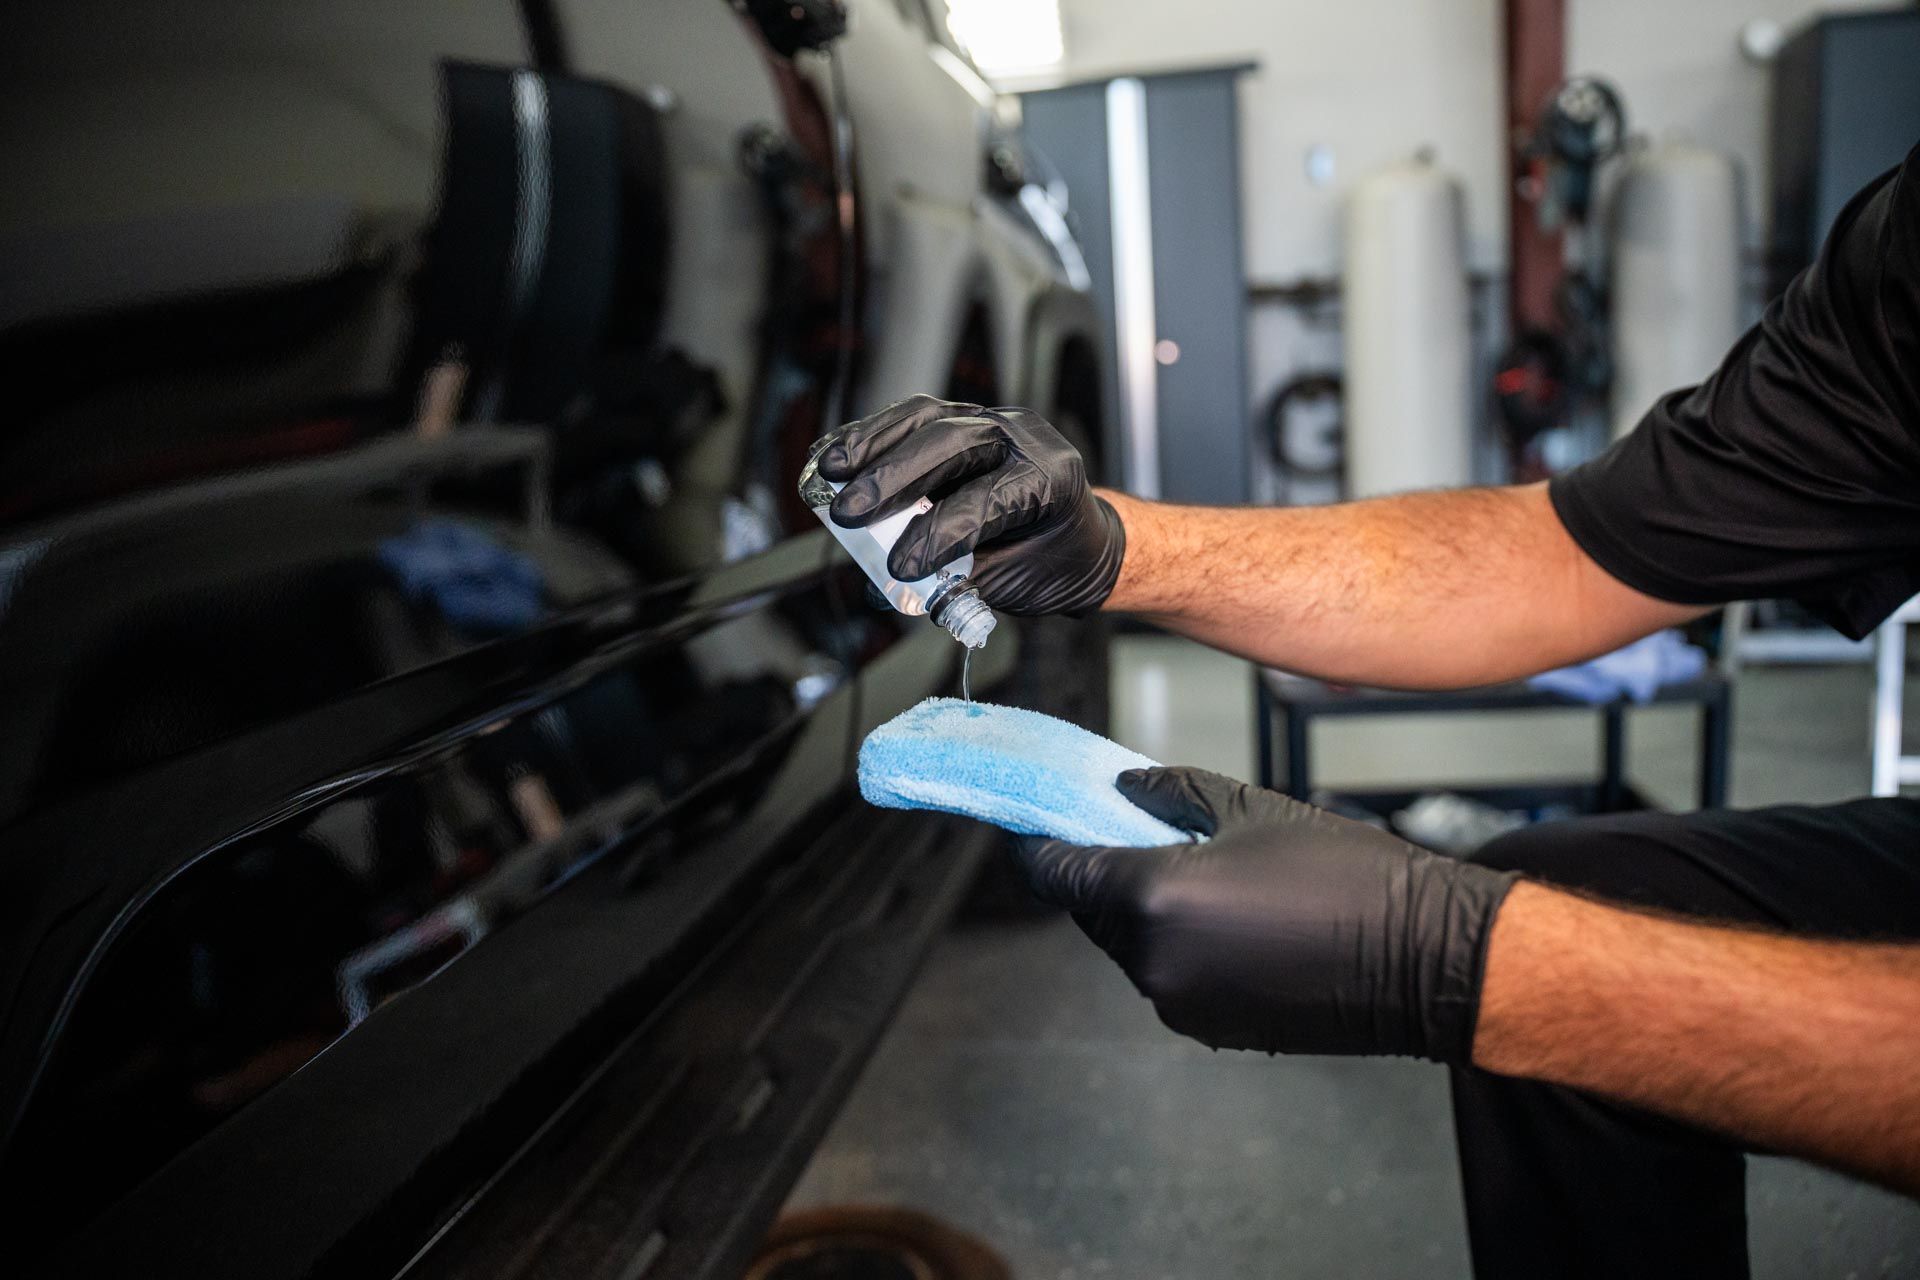
Step 4: Applying the Slip Solution
With the film cut and the panel prepped, we mist the surface with a slip solution. This is a mixture of water and a small amount of baby shampoo or a dedicated PPF installation fluid.
The slip solution does two things. First, it temporarily neutralizes the adhesive on the back of the film so the installer can slide it into position without it locking down too early. Second, it acts as a lubricant between the film and the paint, which prevents creasing during placement.
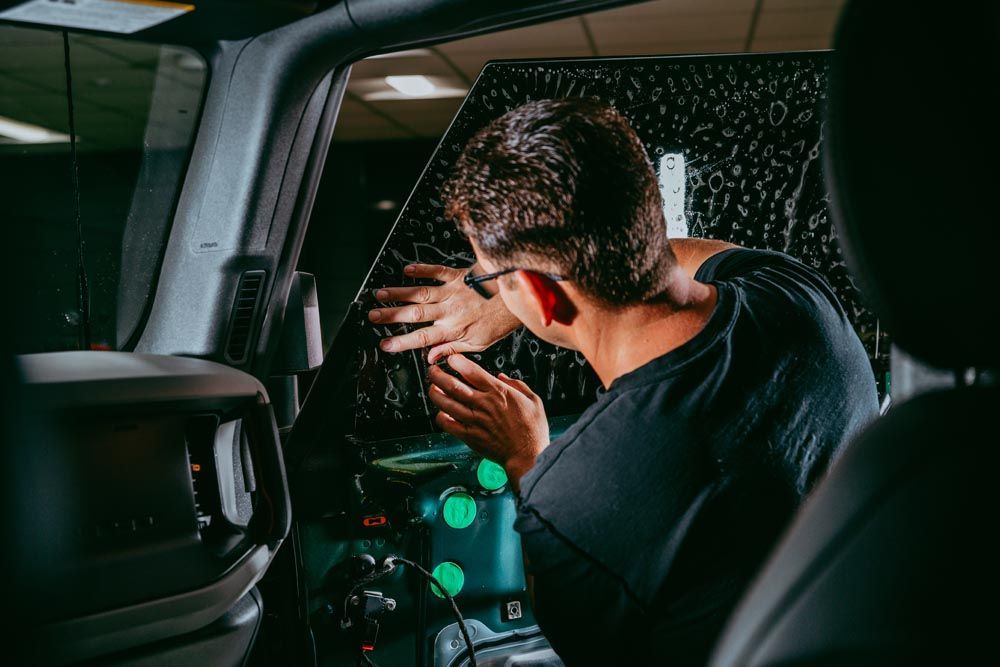
Step 5: Positioning the Film on Each Panel
This is where precision matters most. The installer peels the backing off the film, mists the adhesive side with slip solution, and gently lays the film onto the panel. Alignment is checked against panel edges, body lines, and trim seams to make sure every gap is even.
Pre-cut templates make this stage faster because the film already matches the panel geometry. The installer still has to align it within a small margin, but there's far less guesswork than freehand work.
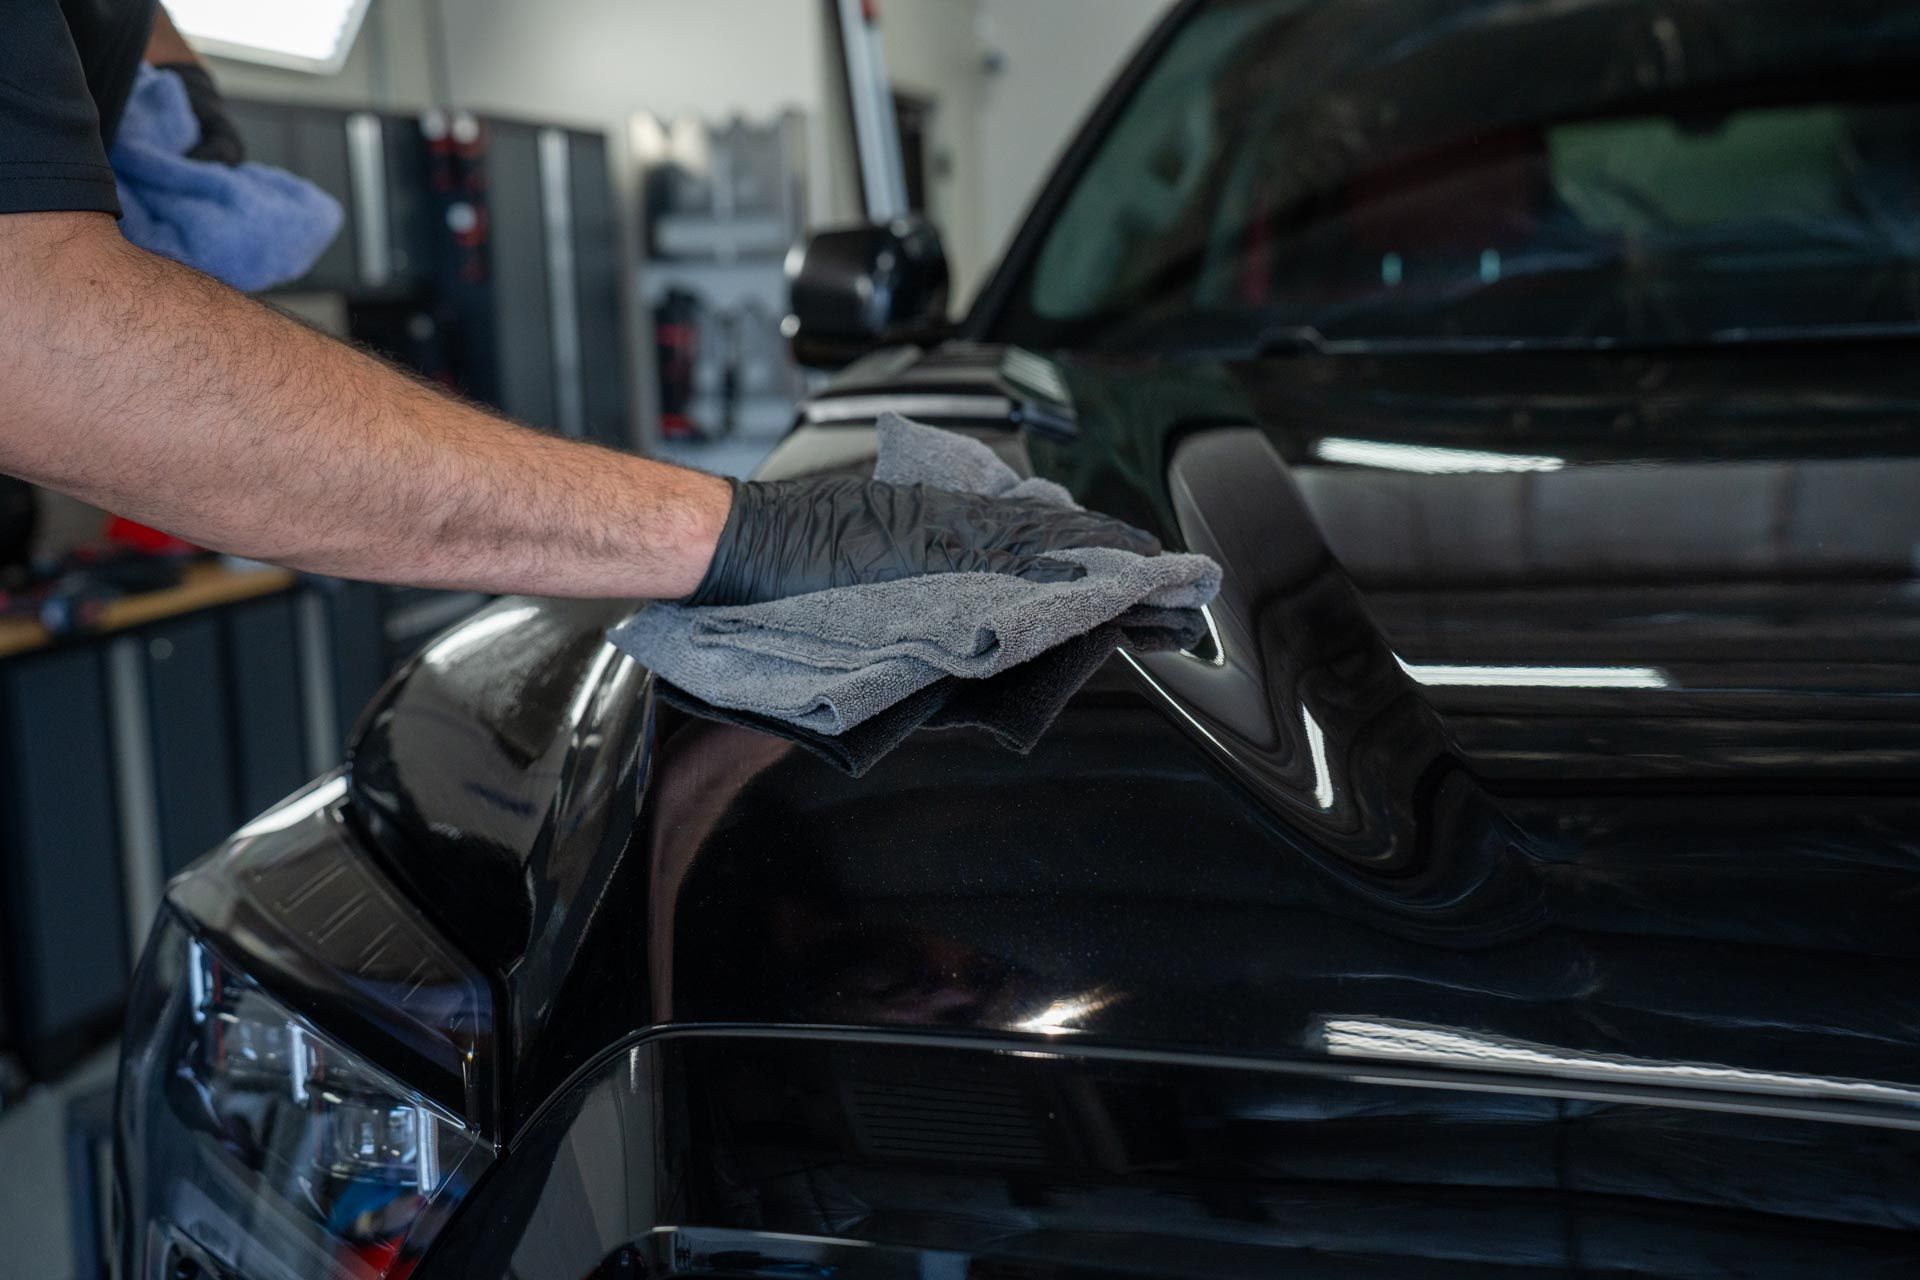
Step 6: Squeegeeing Out Air and Slip Solution
Once the film is in position, we use a soft squeegee to push the slip solution and any trapped air out from under the film. Strokes always go from the center of the panel outward toward the edges. This direction prevents air from getting trapped in the middle, which would create a visible bubble.
We work in overlapping passes, applying steady but moderate pressure. Too much force can stretch the film. Too little leaves moisture behind that takes longer to evaporate and can cause hazing during curing.
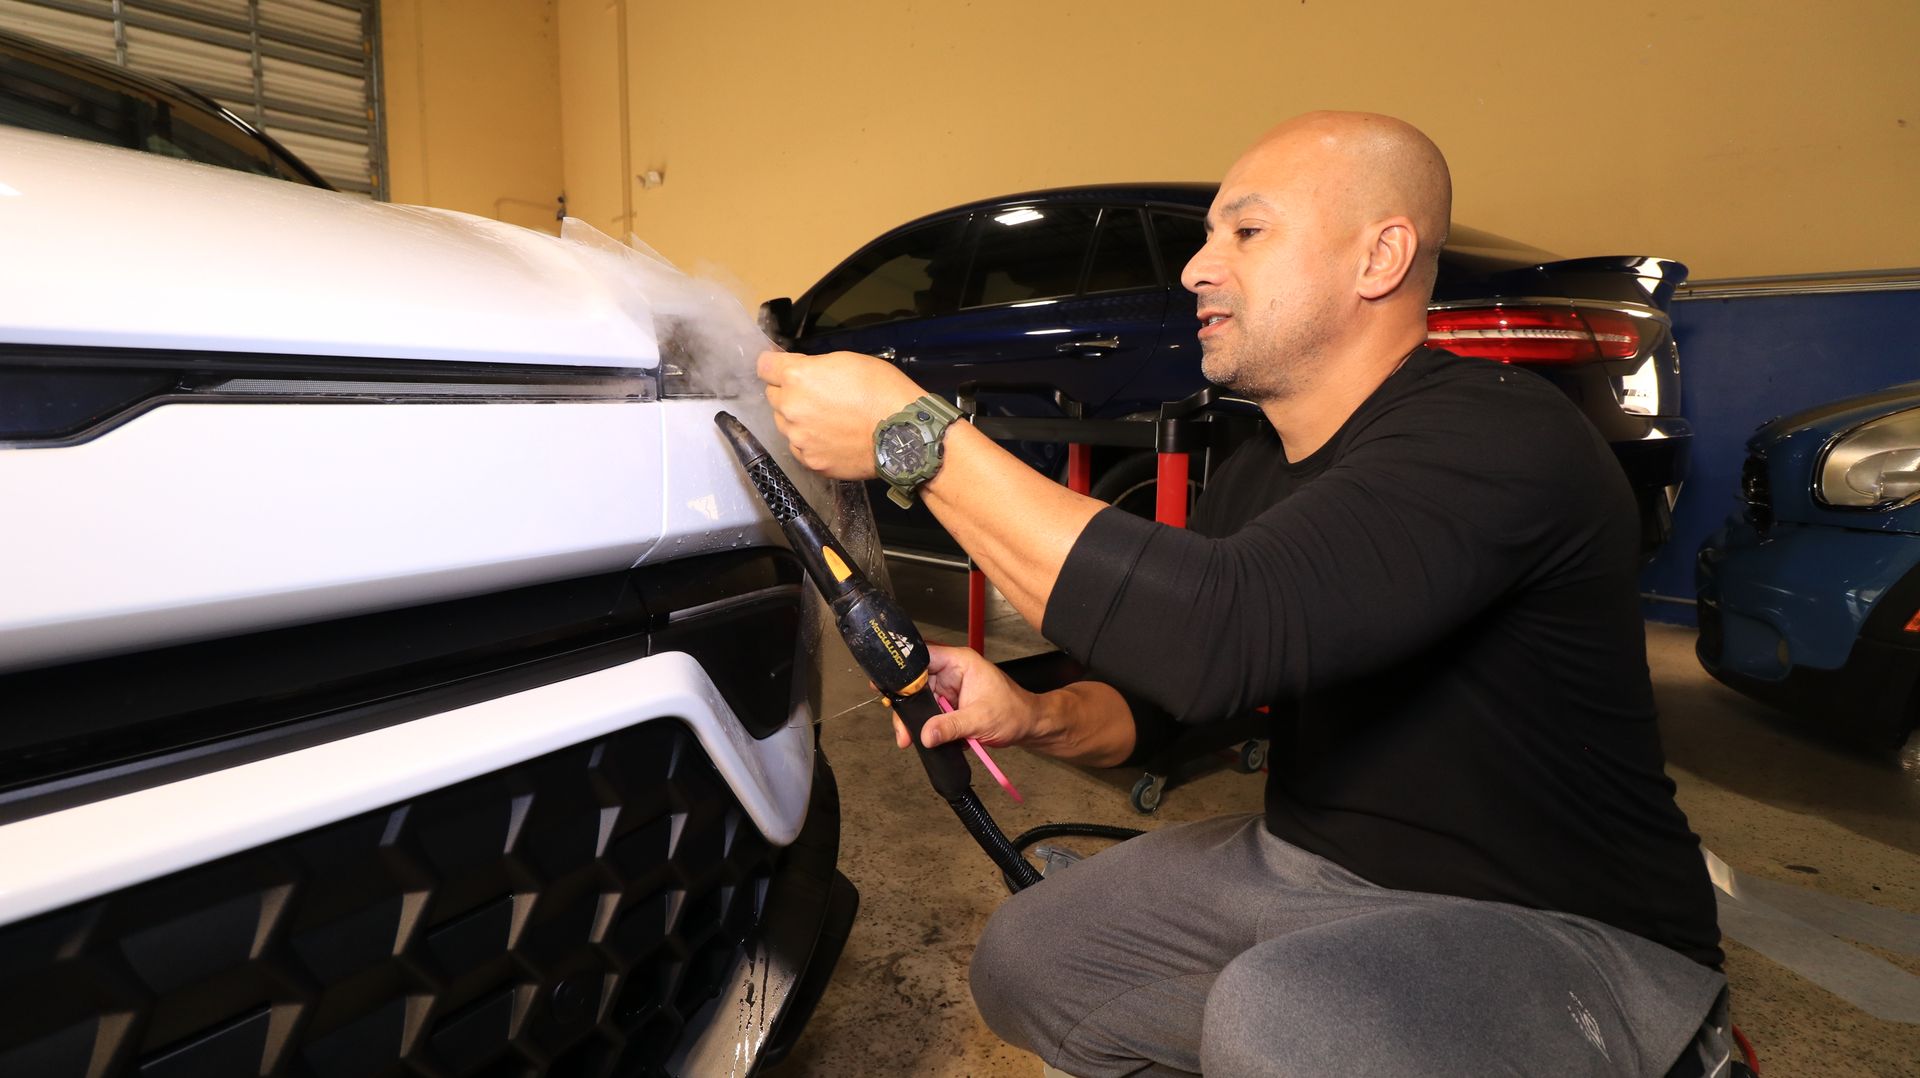
Step 7: Heat Forming Around Curves and Edges
Flat panels are the easy part. The challenge is wrapping film around tight curves, around mirror caps, into door cups, and over the contours of a modern bumper.
For these areas, we use a heat gun on a low to medium setting, kept several inches from the surface to avoid overheating. The heat softens the film and activates what installers call its "memory," allowing it to conform to compound curves without lifting or wrinkling. Once the heat is removed and the film cools, it holds the new shape permanently.
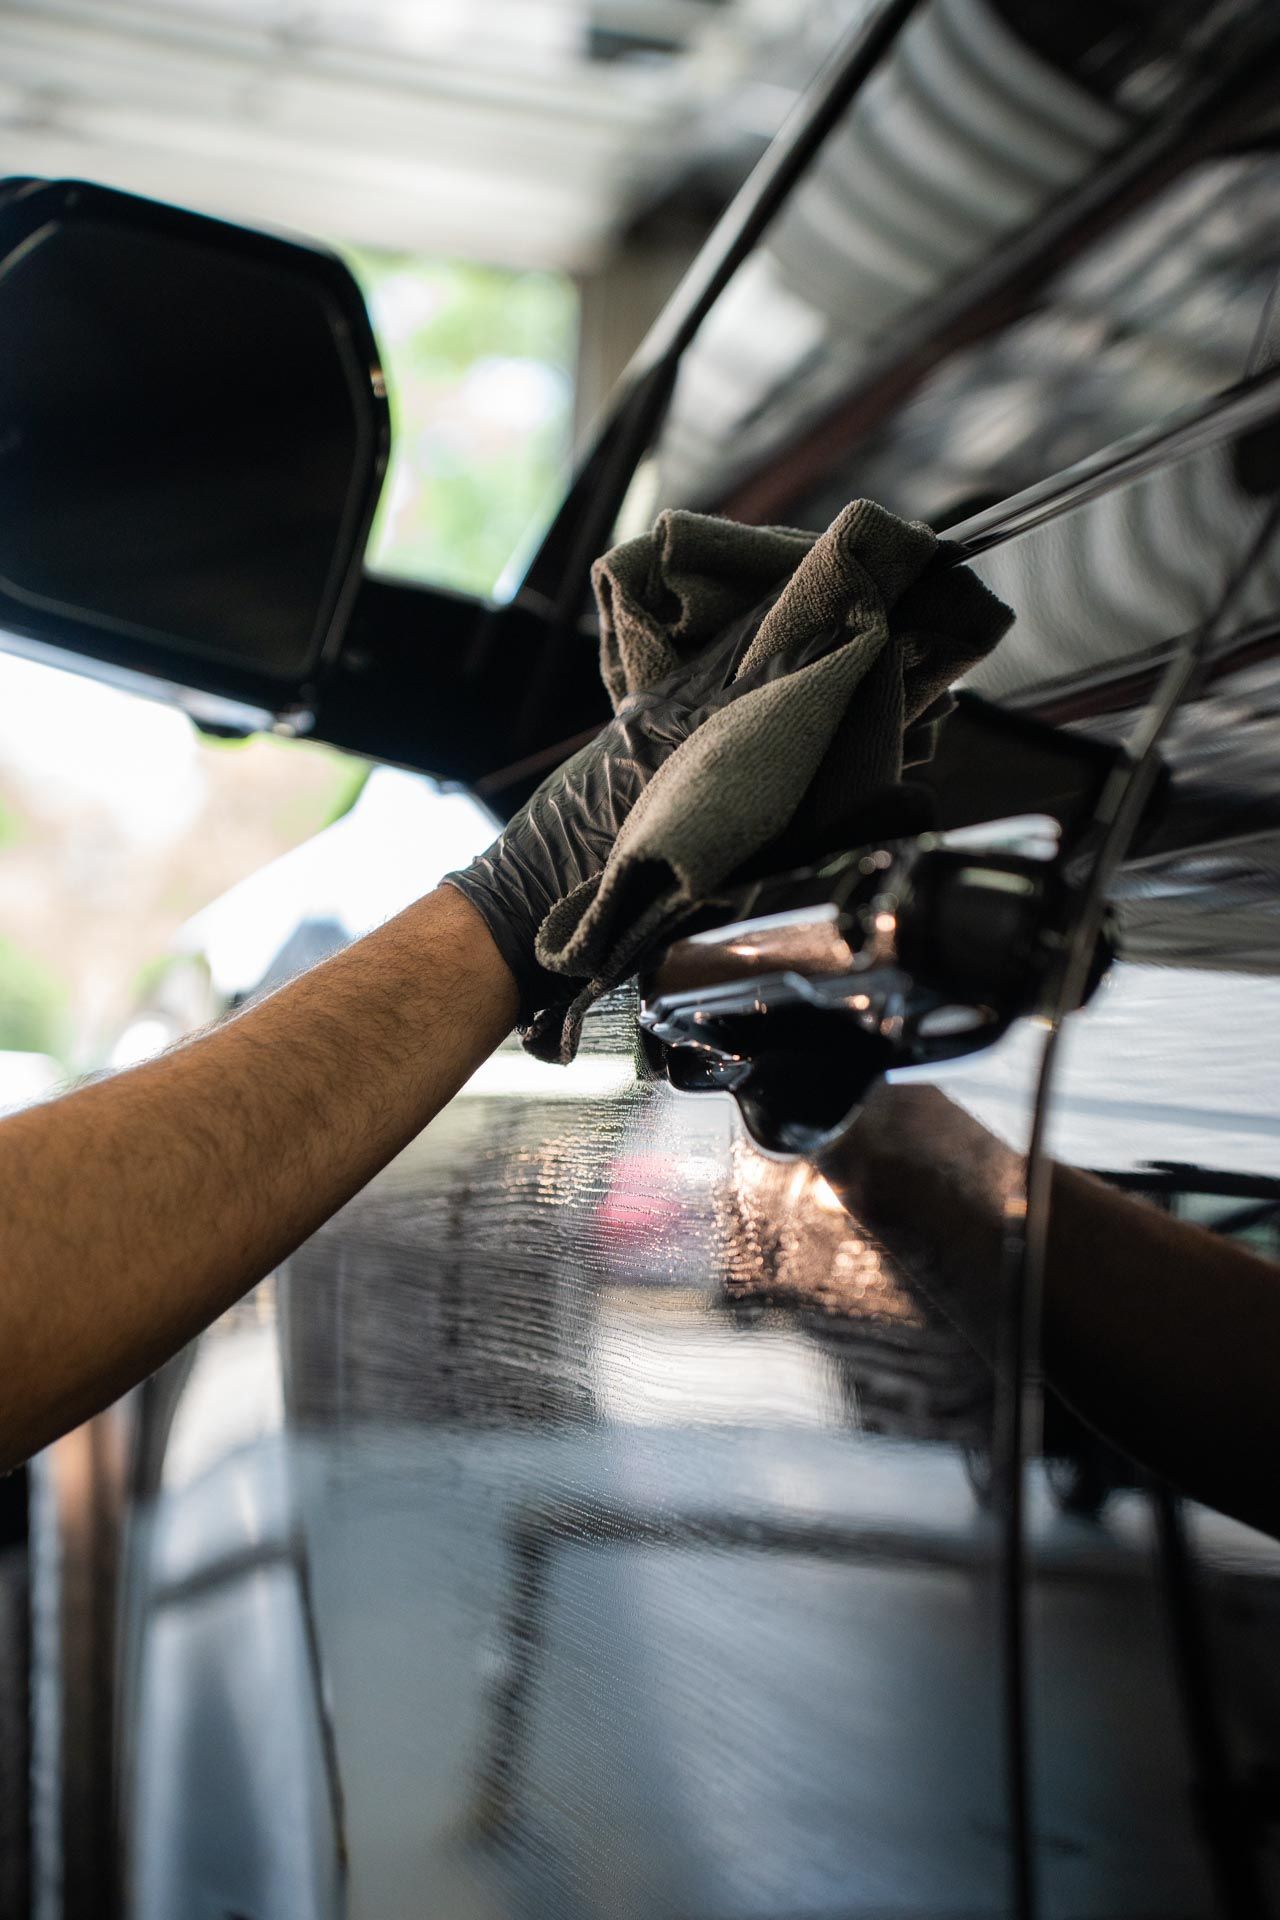
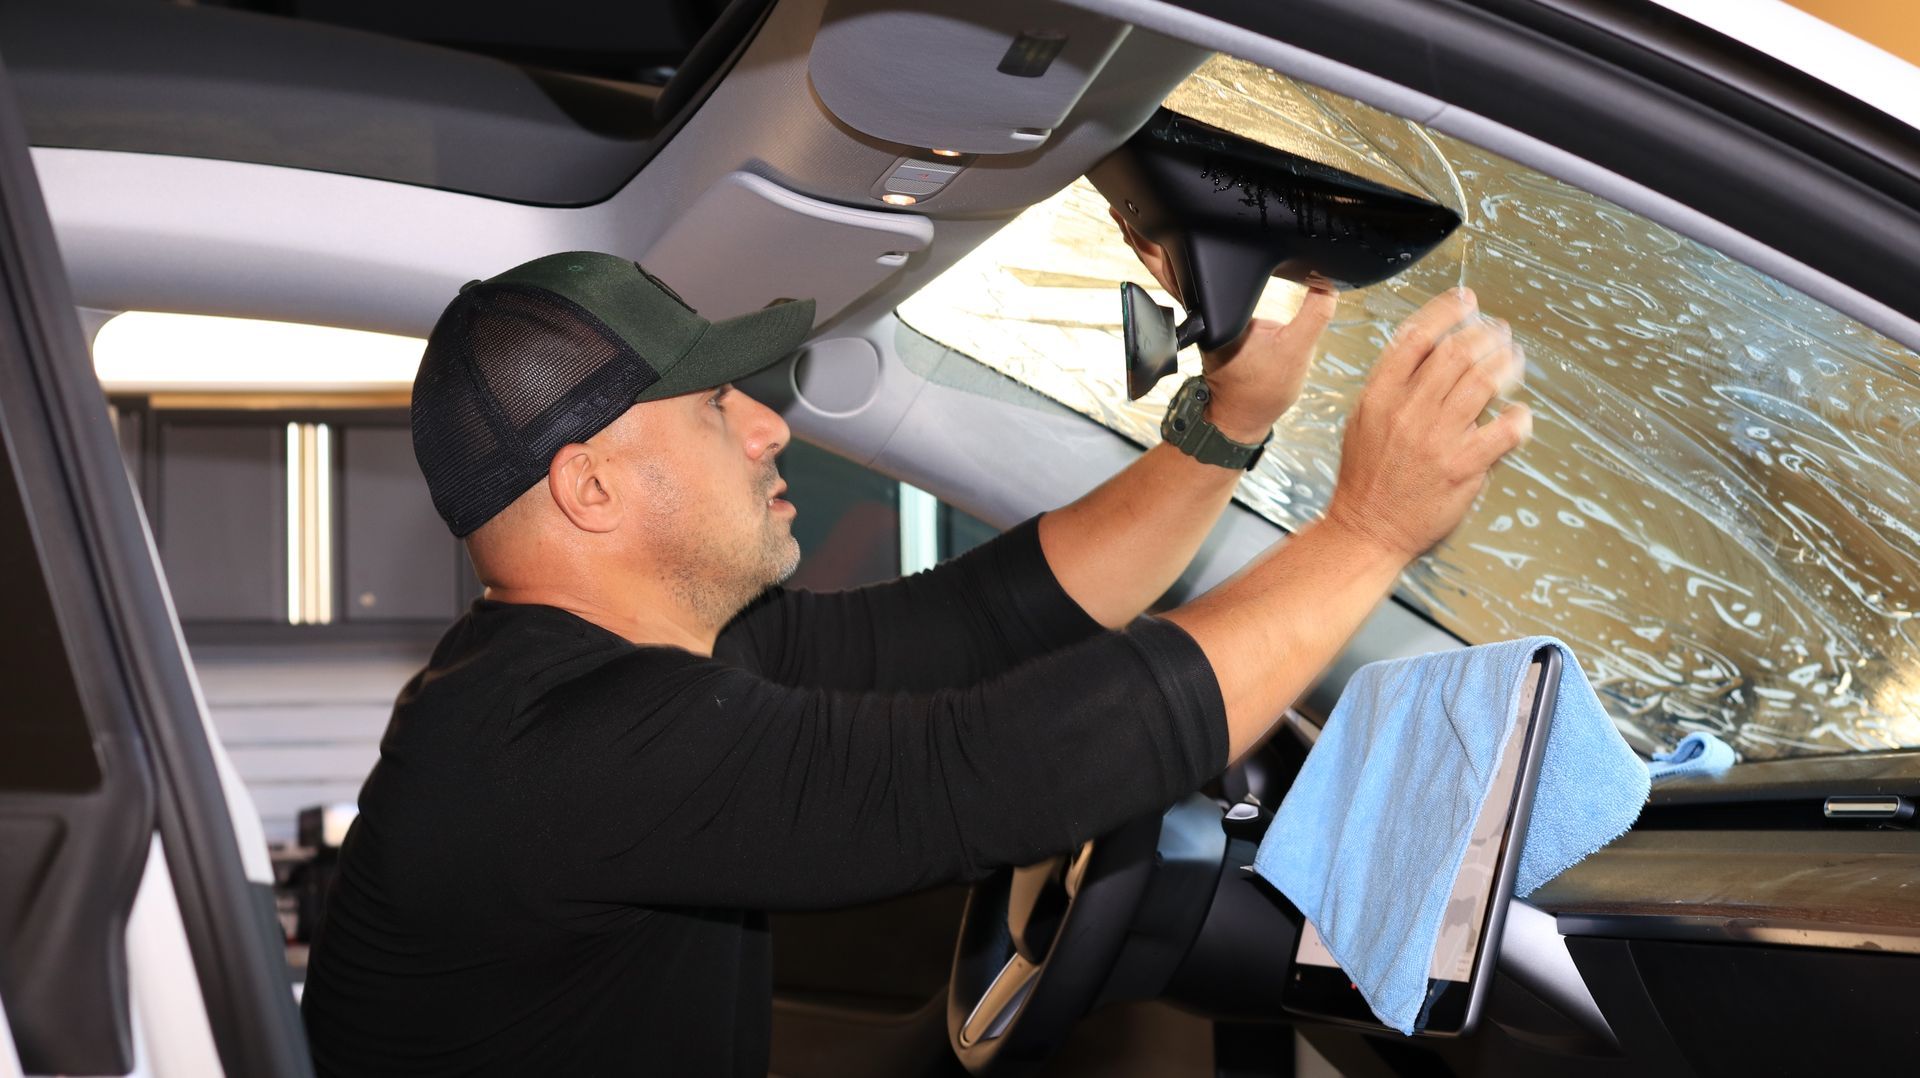
Step 8: Edge Tucking, Trimming, and Tack Solution
For long-lasting installations, edges need to be tucked under panel gaps wherever possible. This hides the seam and protects the edge from peeling. Where tucking isn't possible, the edge is sealed flat against the paint with heat and pressure.
Difficult areas, such as sharp curves, corners, and edges that resist adhesion, get treated with a tack solution. This is a mixture of water and isopropyl alcohol that flashes off quickly and gives the adhesive an immediate grip. It's especially useful around bumper corners, mirror edges, and door handle cups.
Any trimming on the vehicle is done with extreme care, using techniques designed to keep blades away from the painted surface.
Step 9: Final Inspection and Quality Check
Before we hand a vehicle back, every panel goes through a full inspection under bright, even lighting. Our team checks for:
- Trapped air bubbles or water pockets
- Misaligned edges or visible seams
- Lifting at corners and curves
- Contaminants under the film
- Even gloss and consistent appearance across panels
If anything fails inspection, we address it before the customer sees the car. This step is where a lot of the difference between professional and DIY installations becomes visible.
Step 10: The Curing Period and Aftercare Guidelines
The film is installed, but it isn't fully cured yet. Adhesives need time to fully bond, and any remaining slip solution under the film needs to evaporate through the film's micro-pores.
The first 48 hours are the most important. During this window, we recommend keeping the vehicle dry, avoiding car washes, skipping pressure washers, and parking indoors or under cover when possible. Small water pockets or slight hazing during this period are normal and clear up as curing completes.
Full cure typically takes up to a week, depending on temperature and humidity. Once cured, the film can be washed, waxed (with PPF-safe products), and treated like any factory-paint surface, with a few common-sense rules around avoiding harsh solvents and abrasive cleaners.
Why Professional Installation Outperforms DIY
DIY PPF kits are available online, and we understand the appeal. But the gap between a professional installation and a garage attempt is wider than most people expect.
Professional shops work in dust-controlled bays with climate management, even lighting, and the right tools for every panel. Trained installers have applied film to hundreds of vehicles and know how each panel behaves. Pre-cut templates from manufacturer libraries match exact factory geometry. Manufacturer warranties typically only apply when installation is done by an authorized shop.
DIY attempts commonly run into air bubbles, misaligned seams, lifting edges, wasted film (which is expensive), and damage to paint from blade slips. The cost of fixing a bad installation almost always exceeds the cost of having it done right the first time.
Trust Right Choice Auto Spa for Precision PPF Installation
Paint protection film is one of the smartest investments you can make in your vehicle. It preserves resale value, keeps your paint looking new, and shields the surfaces most likely to take damage on the road.
At Right Choice Auto Spa, we take pride in walking customers through every stage of the process, using clean prep techniques, careful application, and a thorough final inspection. If you're ready to protect your vehicle the right way, reach out to our team for a consultation and a coverage recommendation built around your driving habits.
Frequently Asked Questions
How long does a paint protection film installation take?
Installation time depends on coverage. A partial front package typically takes one to two days, while a full-body wrap can take three to five days. The timeline includes prep, application, and final inspection.
What is the difference between wet and dry PPF installation?
Wet installation uses a slip solution to position the film, which is the industry standard for vehicles. Dry installation skips the lubricant and is typically reserved for small accent pieces or specific manufacturer instructions.
Can PPF be installed over a ceramic coating?
PPF should be applied directly to clean paint, not over a ceramic coating, because coatings interfere with adhesion. Ceramic coating can be applied on top of PPF afterward for added gloss and easier cleaning.
How soon can I wash my car after PPF installation?
We recommend waiting at least 48 hours before any contact with water, and ideally seven days before machine washing or pressure washing. This allows the adhesive to fully cure.
Does PPF damage the factory paint when removed?
Properly installed, quality PPF is designed to be removable without damaging factory paint. Issues usually only occur when low-grade film is used or when film is left on far past its rated lifespan.
How long does paint protection film last after installation?
Most quality PPF films last between five and ten years, with warranties to match. Lifespan depends on film quality, installation quality, climate exposure, and ongoing care.