The Process of Professional Window Tinting: A Complete Guide to Installation
When it comes to giving your car a sleek look while boosting its performance, window tinting is a game changer. But navigating through the options, techniques, and regulations in South Florida often feels overwhelming. Don't worry—you're not alone. Many car owners in Sunrise, Plantation, and Fort Lauderdale want to enhance their vehicles but aren't sure where to start.
In this guide, we'll break down the professional window tinting process from choosing the right film to caring for it post-installation. With clear steps and straightforward advice, you'll discover how to elevate your driving experience while protecting your investment. Let's dive in and make sure you get it right the first time!
What to Expect During Professional Installation: During the professional window tinting process, you can expect an initial consultation to choose the right film based on your shade preferences and Florida's legal regulations. After thoroughly cleaning your windows, installation typically takes 1 to 3 hours depending on your vehicle size. Following installation, a curing period of 2 to 5 days is necessary before rolling down your windows or cleaning them—this ensures optimal results and longevity.
Types of Tint Films Available
When it comes to window tinting, choosing the right film not only elevates your vehicle's aesthetic appeal but also enhances its functionality—especially important here in Florida's harsh sun. Think of it like choosing sunscreen for your car; different films offer varying levels of protection and performance.
Dyed Window Tint Film
This budget-friendly option utilizes several layers of dyed material designed to absorb sunlight. While it creates the darker look many drivers appreciate, it doesn't offer as much heat rejection as other films—a crucial consideration in South Florida's climate. Additionally, over time and with our intense UV exposure, this type of film may fade, reducing its initial visual impact.
Metalized Window Tint Film
This choice incorporates tiny metallic particles that reflect light, making it effective at strengthening your windows while blocking harmful UV rays and excessive heat. Many vehicle owners opt for metalized films because they provide excellent durability and improved performance. However, one drawback is its tendency to disrupt signals for GPS or cell phones—something to consider if you rely heavily on these technologies during your commute.
Carbon Window Tint Film
If you're looking for an option that balances cost and performance, carbon window tint film is appealing to many of our clients. This mid-tier film is known for its matte finish that gives vehicles a refined, professional look without being overly reflective. Unlike dyed films, carbon films don't fade over time, making them a reliable choice for long-term use. They block about 40% of infrared light, effectively reducing cabin heat without interfering with signal strength—perfect for today's tech-savvy drivers who want aesthetics combined with functionality.
Ceramic Window Tint Film
Often considered the pinnacle of window tint technology, ceramic films utilize advanced ceramic particles rather than metal or dye. This innovative material stands out due to its exceptional UV ray blocking capabilities and heat rejection properties while maintaining maximum visibility—the perfect blend of function and style. What makes ceramic films particularly desirable is their longevity; they resist fading and maintain their appearance over time, giving you peace of mind with every drive. For Florida drivers serious about protecting their investment, ceramic tint is often the go-to choice.
Preparing Your Vehicle's Windows
Preparation is far more than just a preliminary step—it ensures your new window tint adheres effectively, resulting in a crystal-clear finish that looks professional and performs well. The process begins with meticulously cleaning the windows to eliminate any potential barriers to proper adhesion.
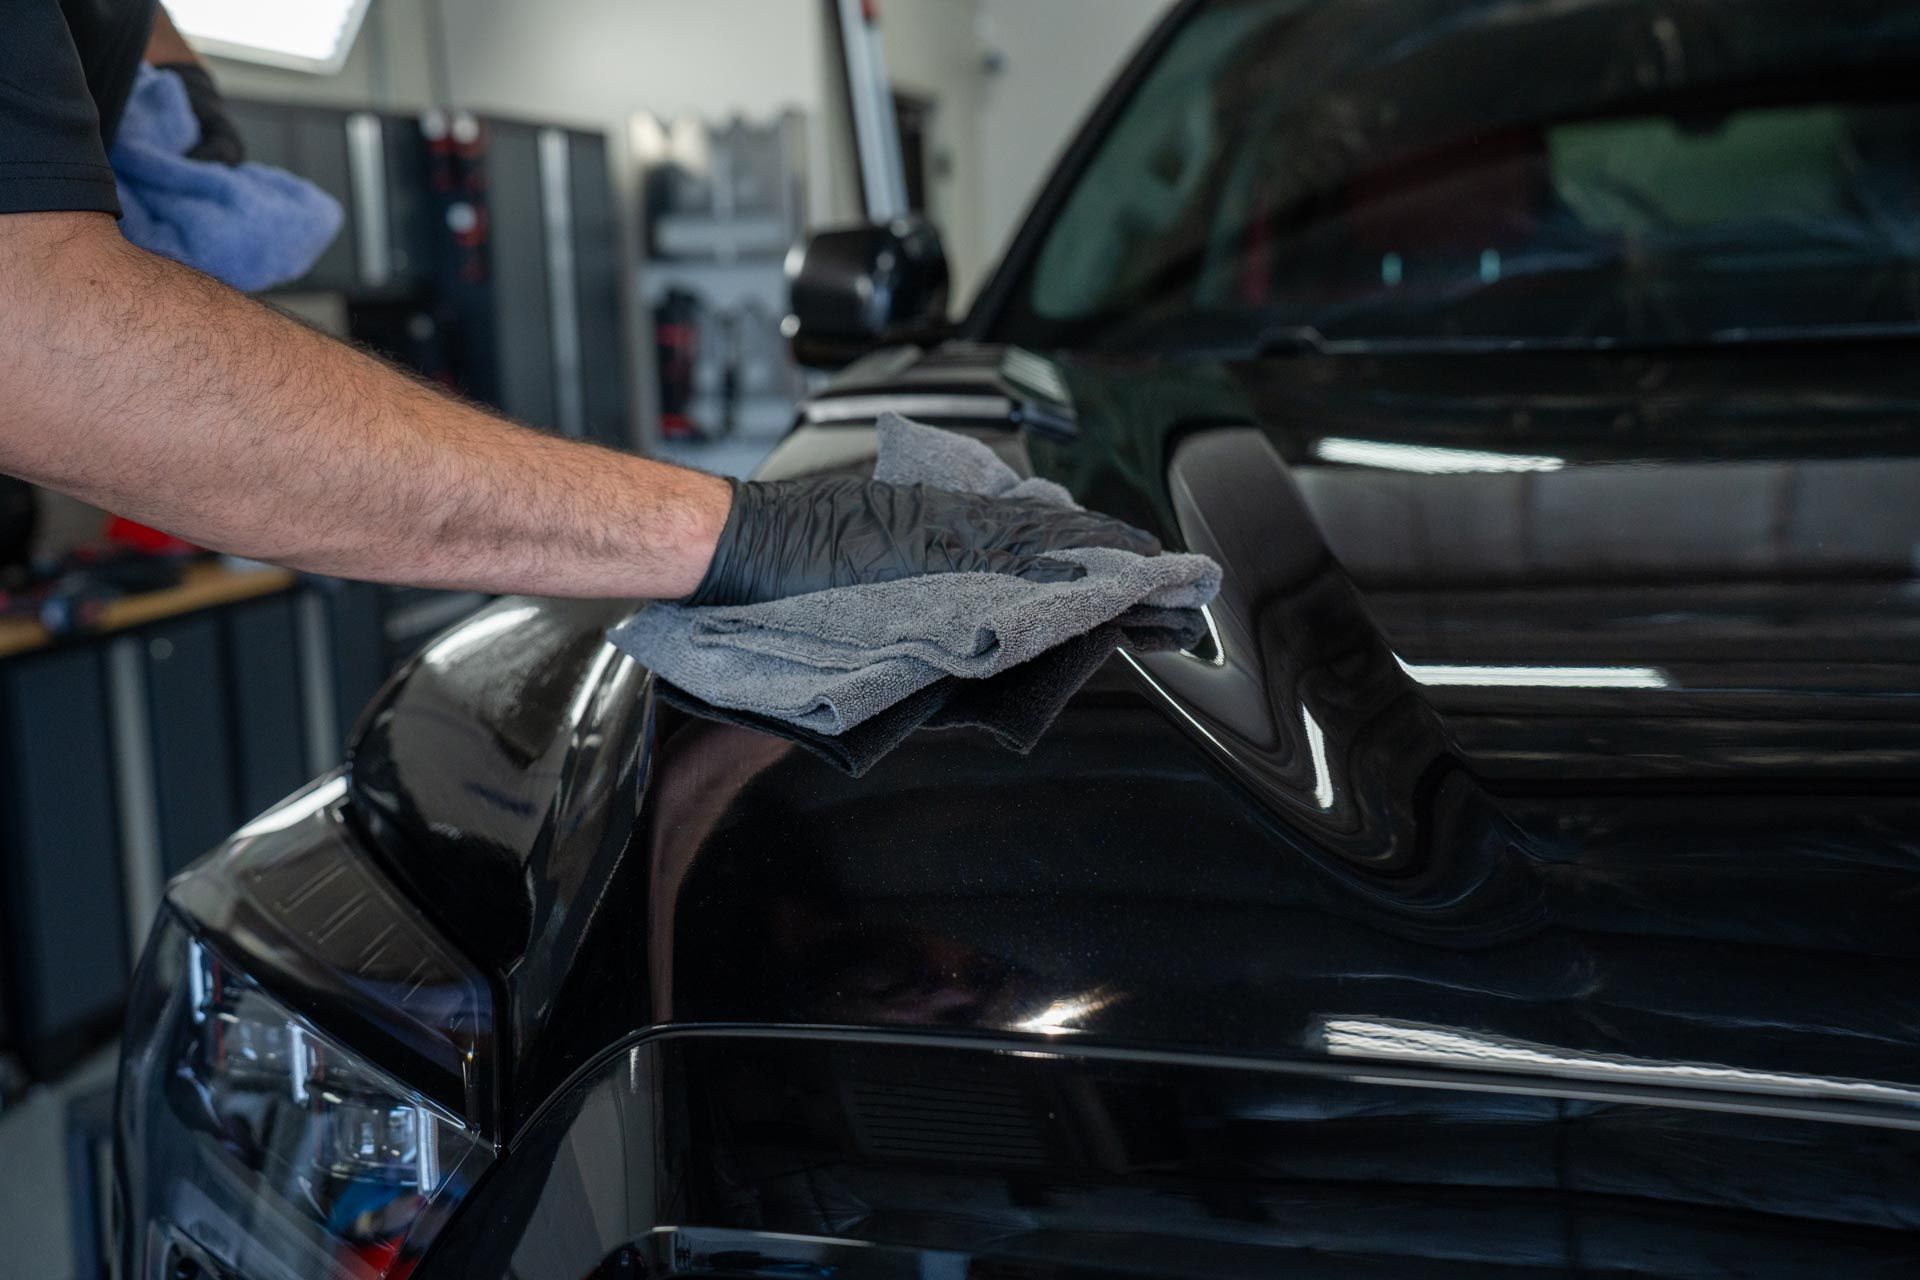
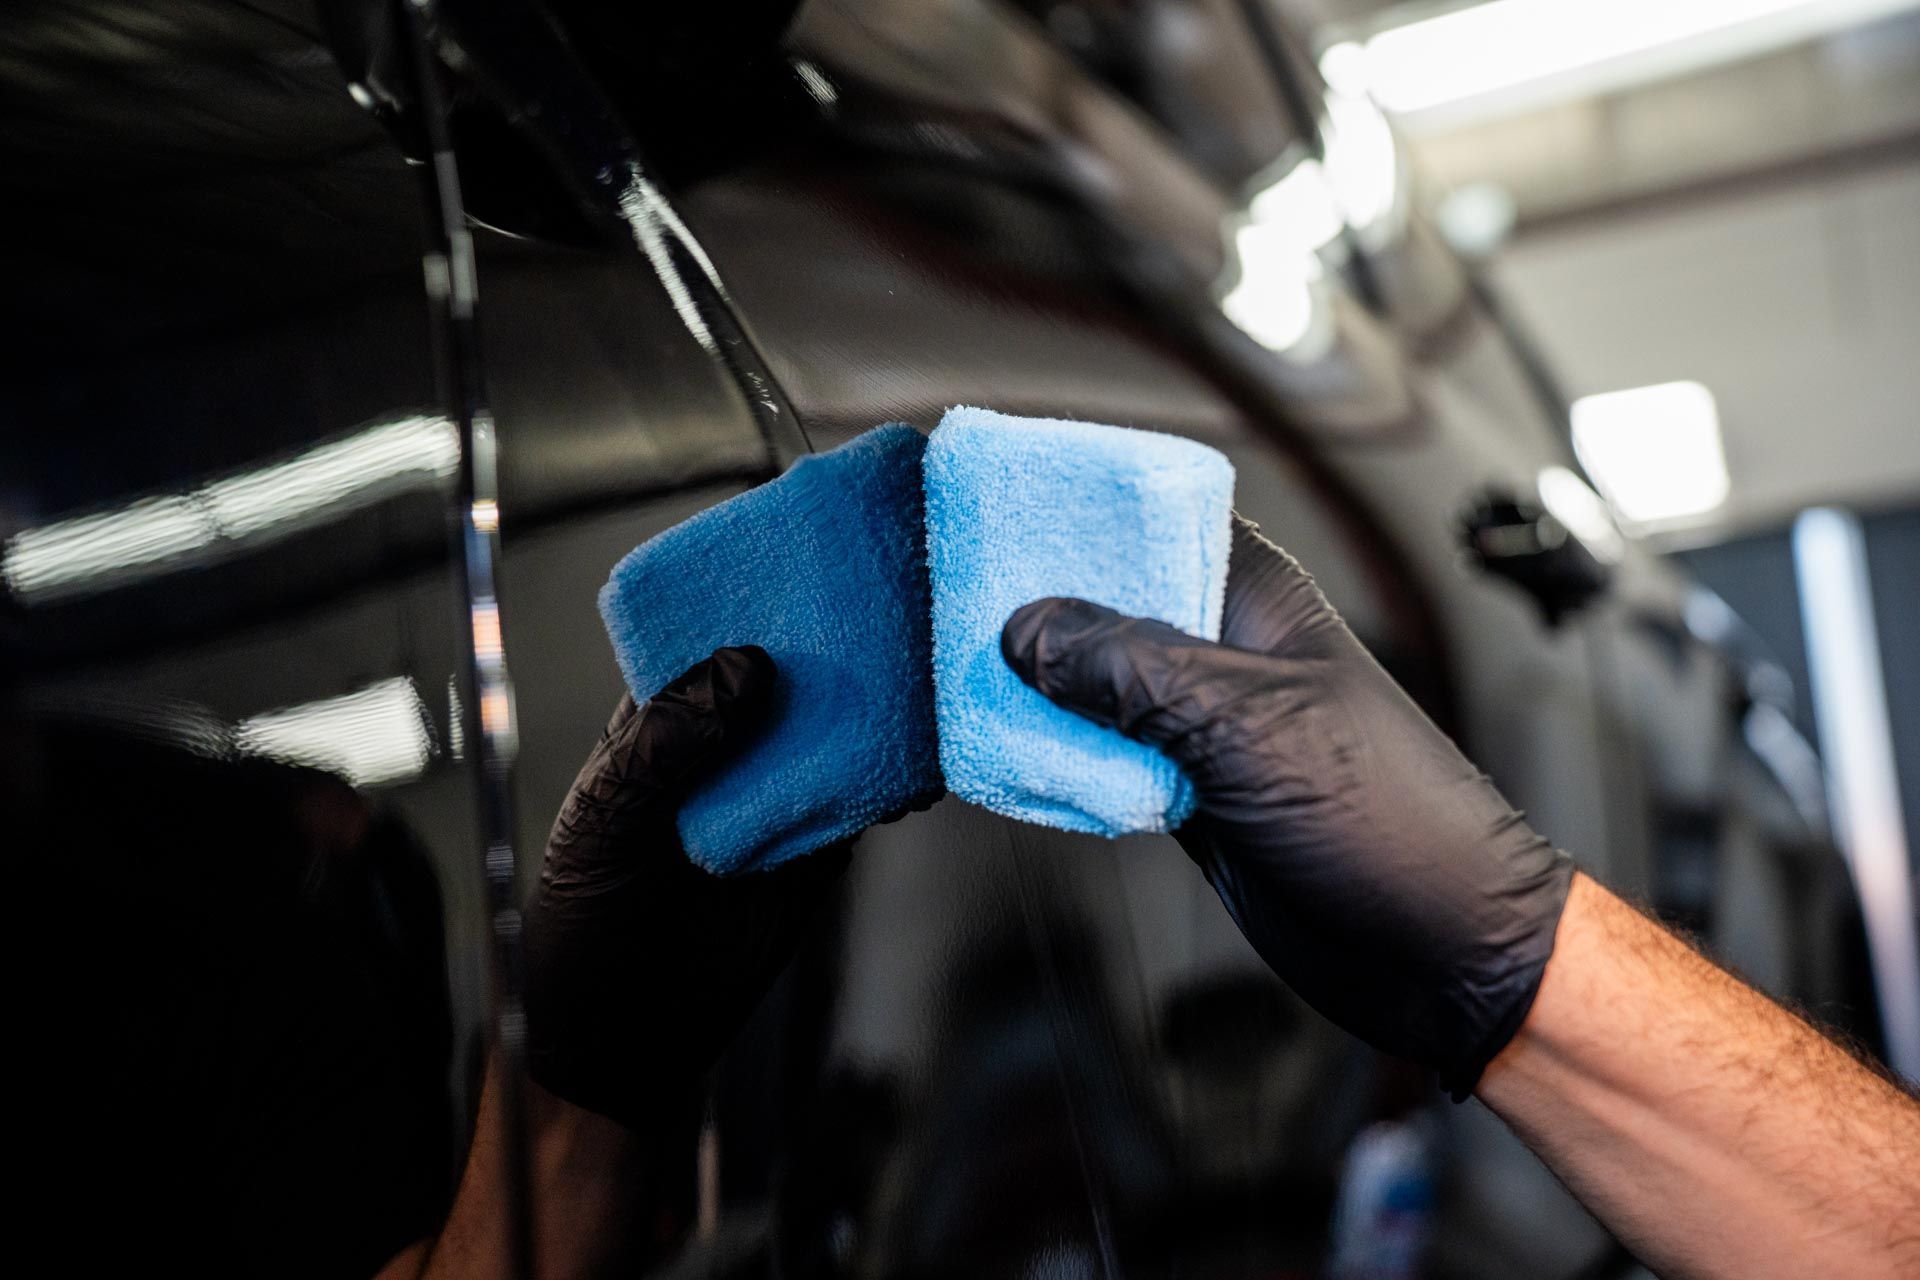
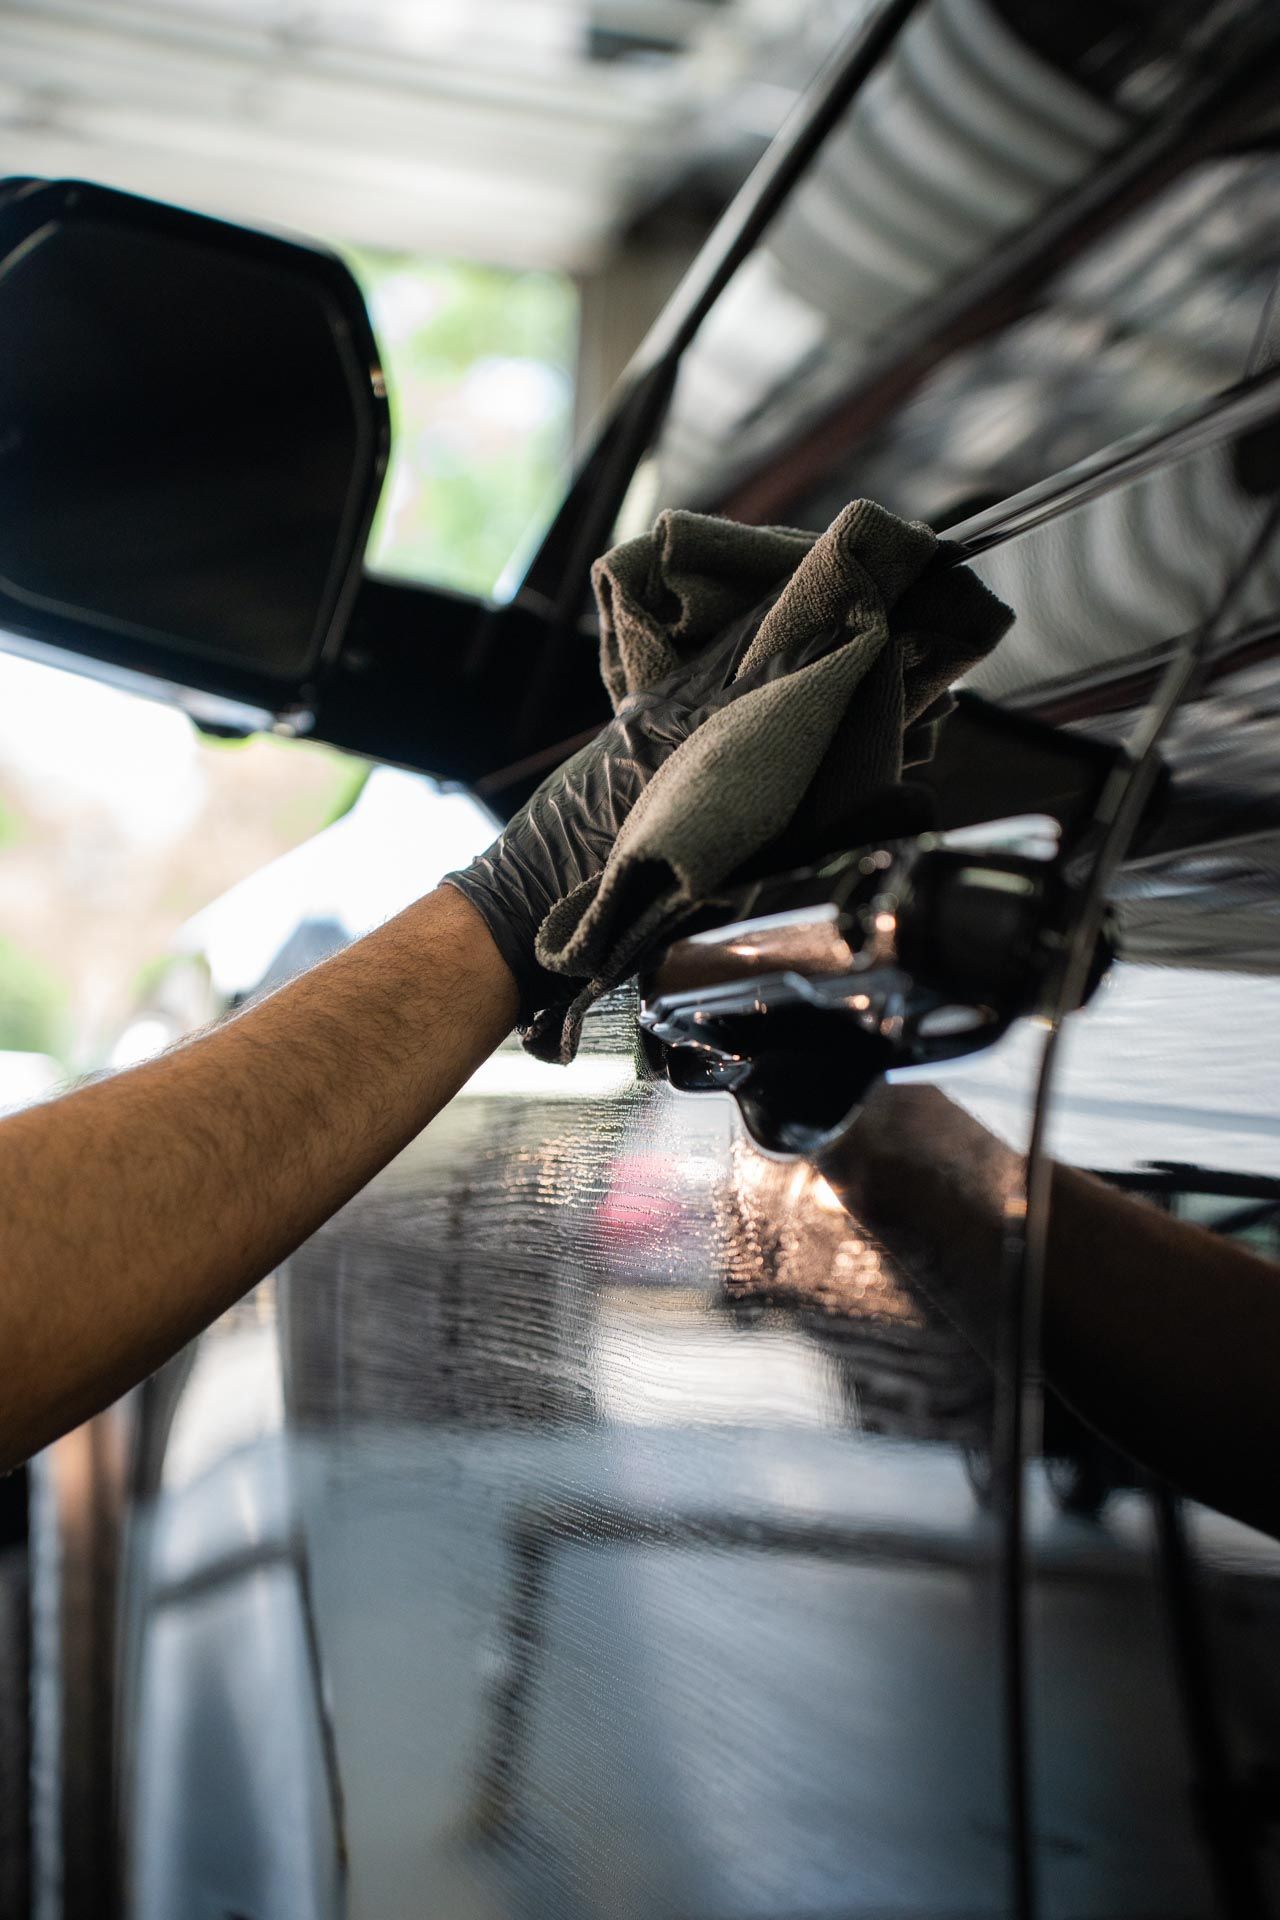
Step I - Deep Cleaning
We use ammonia-free glass cleaner, as this protects against scratches and leaves no harmful residues that could interfere with the film. Using microfiber cloths and professional-grade squeegees, we remove any dust, oil, or grime from the surface. Think of it this way: a clean canvas is essential for a stunning finish.
Step II - Surface Inspection
Inspecting the window surfaces is crucial—we're checking for any hidden issues before starting the installation. Any pre-existing damage such as chips or cracks can drastically affect how well the tint adheres and can lead to bubbles or peeling down the line. If we find such imperfections during inspection, we'll address them beforehand to ensure you start with an unblemished surface for optimal adhesion and longevity.
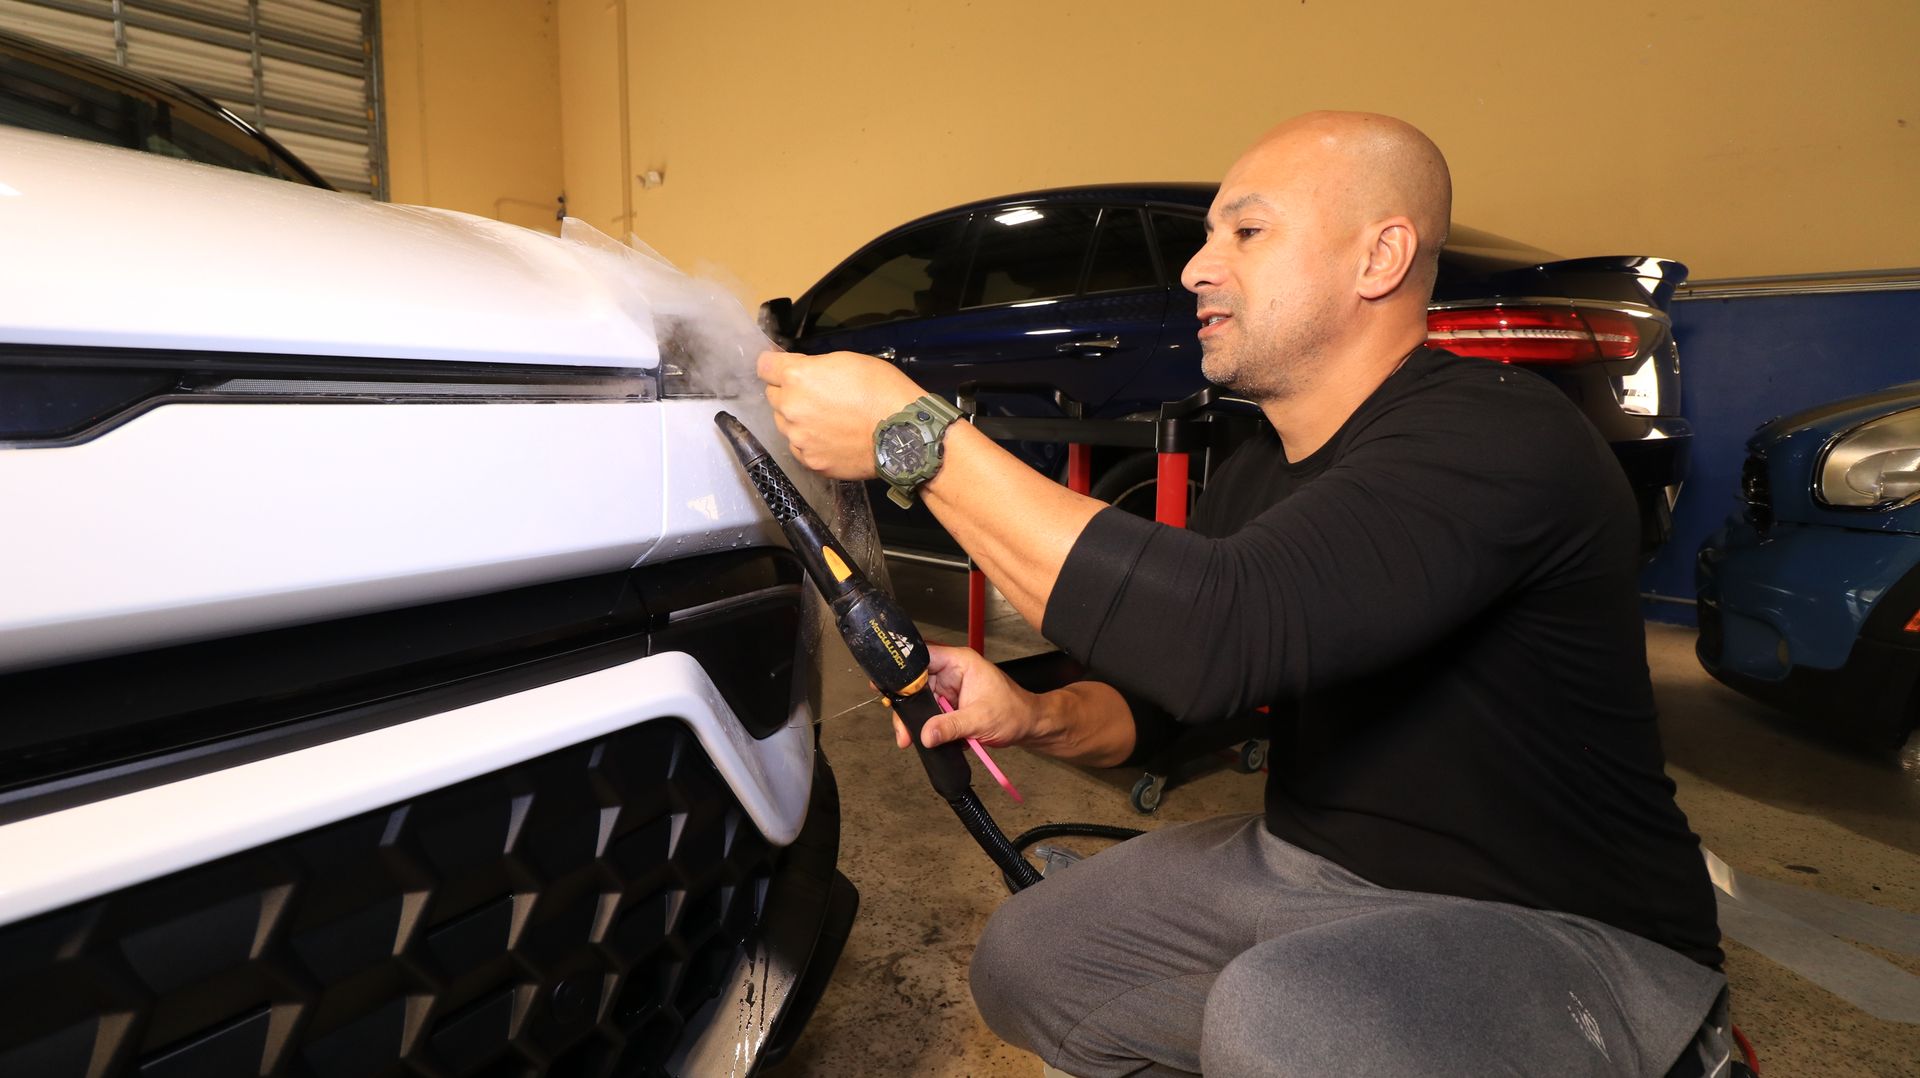
Step III - Removing Old Tint
If your windows have been previously tinted, proper removal is essential. Hastily tearing off old film can result in sticky residue and scratches that complicate new installations. We use specialized tools like steamers and professional-grade razor blades for effective removal. The steam gently loosens adhesive while allowing us to peel off the film without damaging the underlying glass. After removing all remnants of old tint and adhesive, we complete another thorough cleaning to prepare the surface for the new film.
Taking these preparatory steps seriously sets you up for a successful installation that enhances both the functionality and aesthetics of your vehicle for years to come.
Step-by-Step Professional Tint Application
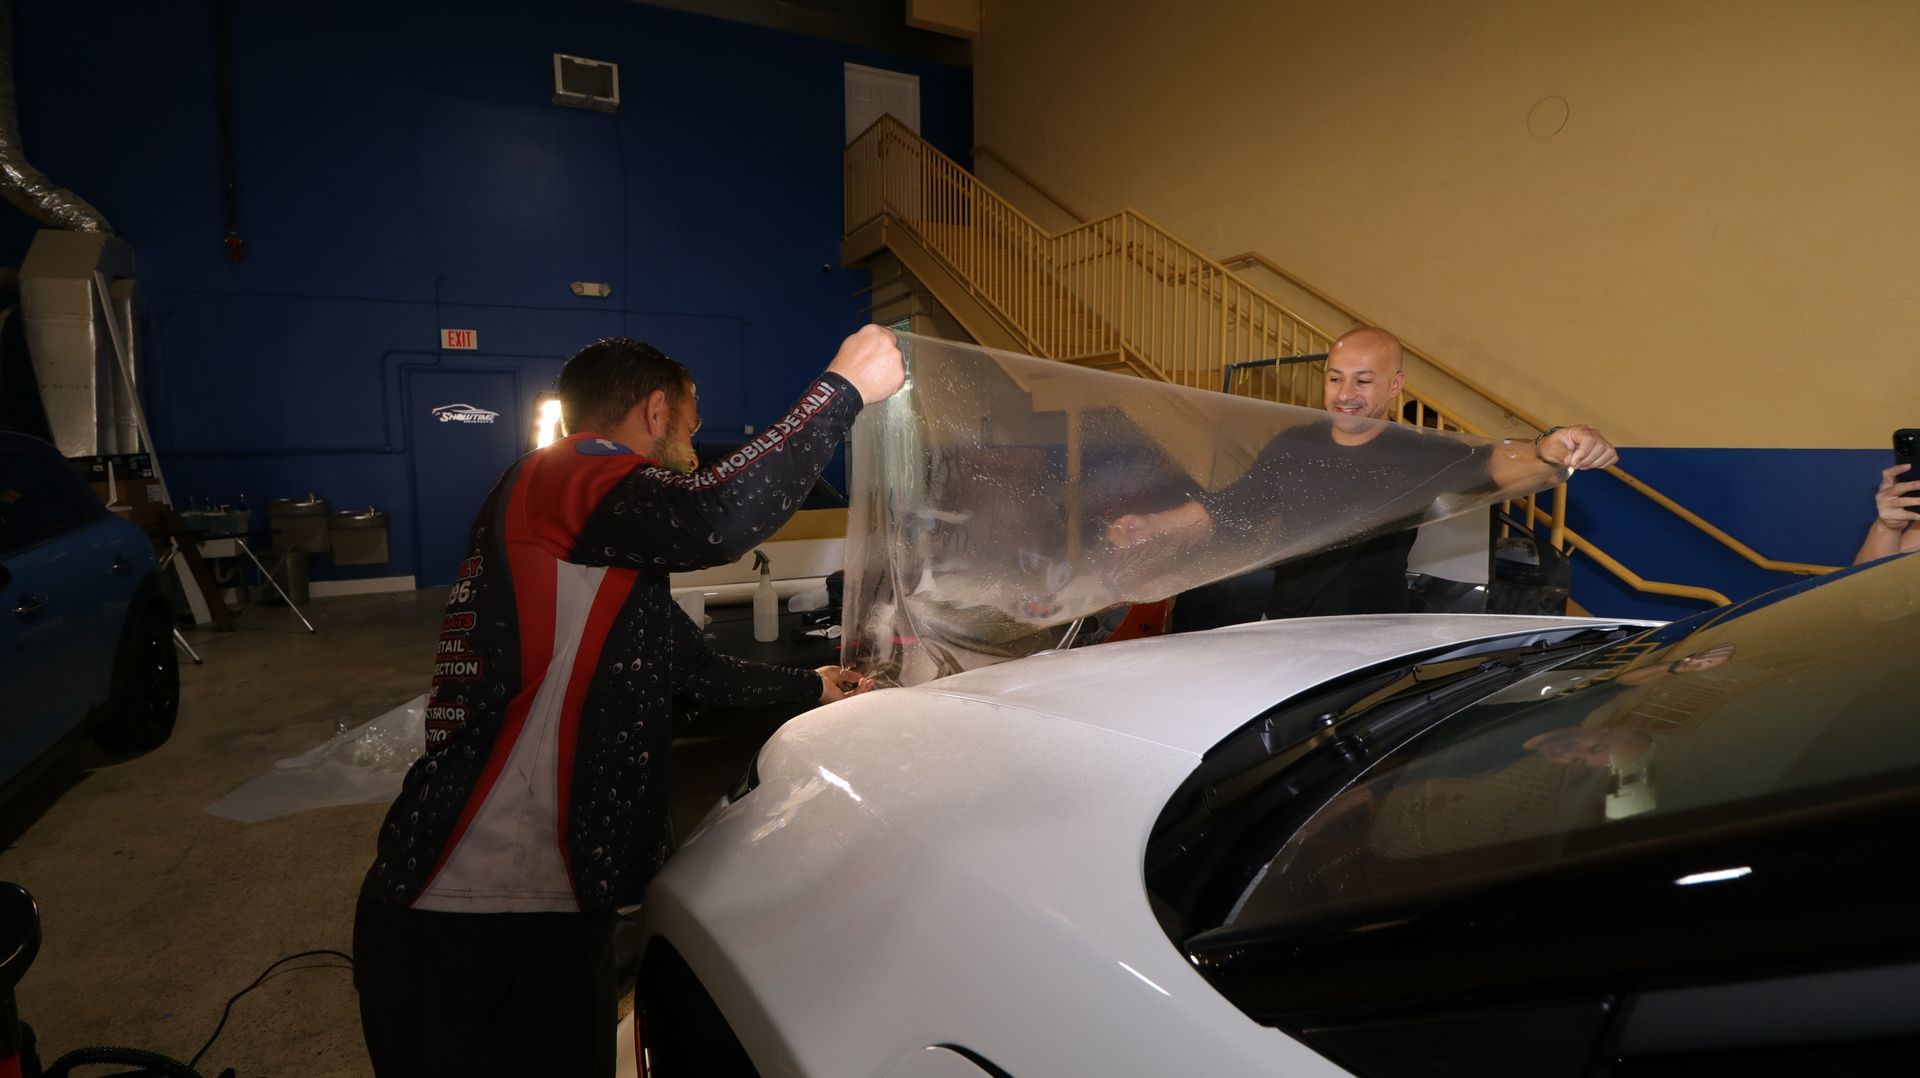
The tint application process is intricate and requires precision to ensure a flawless finish. Every vehicle and window presents unique challenges, which is why having experienced technicians makes all the difference. We begin by carefully laying out the tint film on a clean, flat surface, ensuring it's free from any debris that could affect the final result.
Step I - Measuring and Cutting the Film
With an experienced eye, our technician measures each window, taking special care to note the dimensions accurately. This step isn't just about cutting straight lines—it's about ensuring there's enough material to account for curves and edges specific to your vehicle's make and model. We typically cut the film slightly larger than the window itself, allowing for an extra margin on all sides. This provides room for adjustments during fitting and ensures complete coverage.
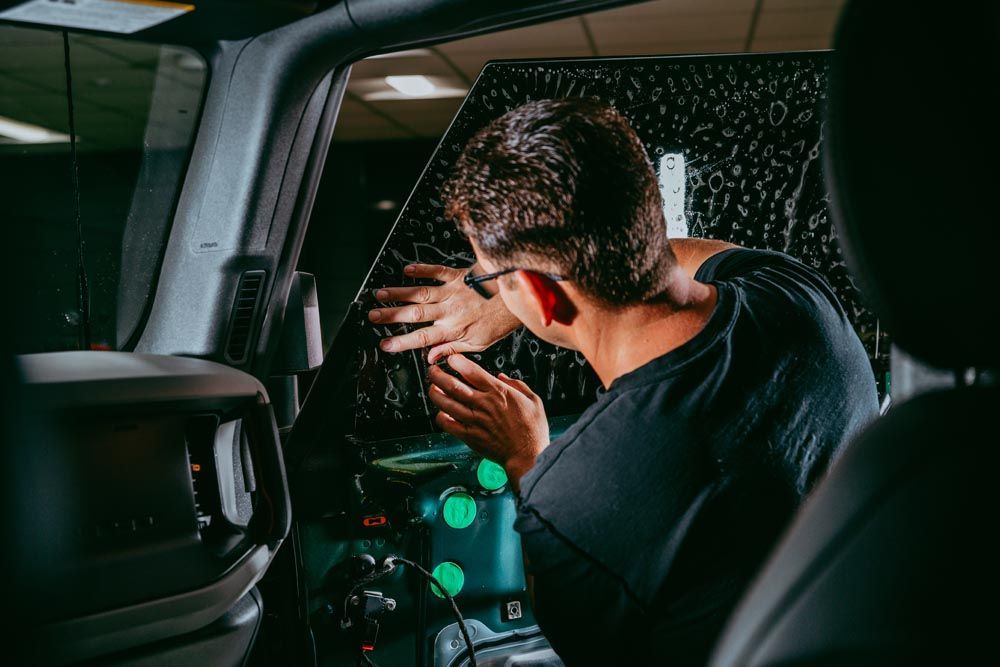
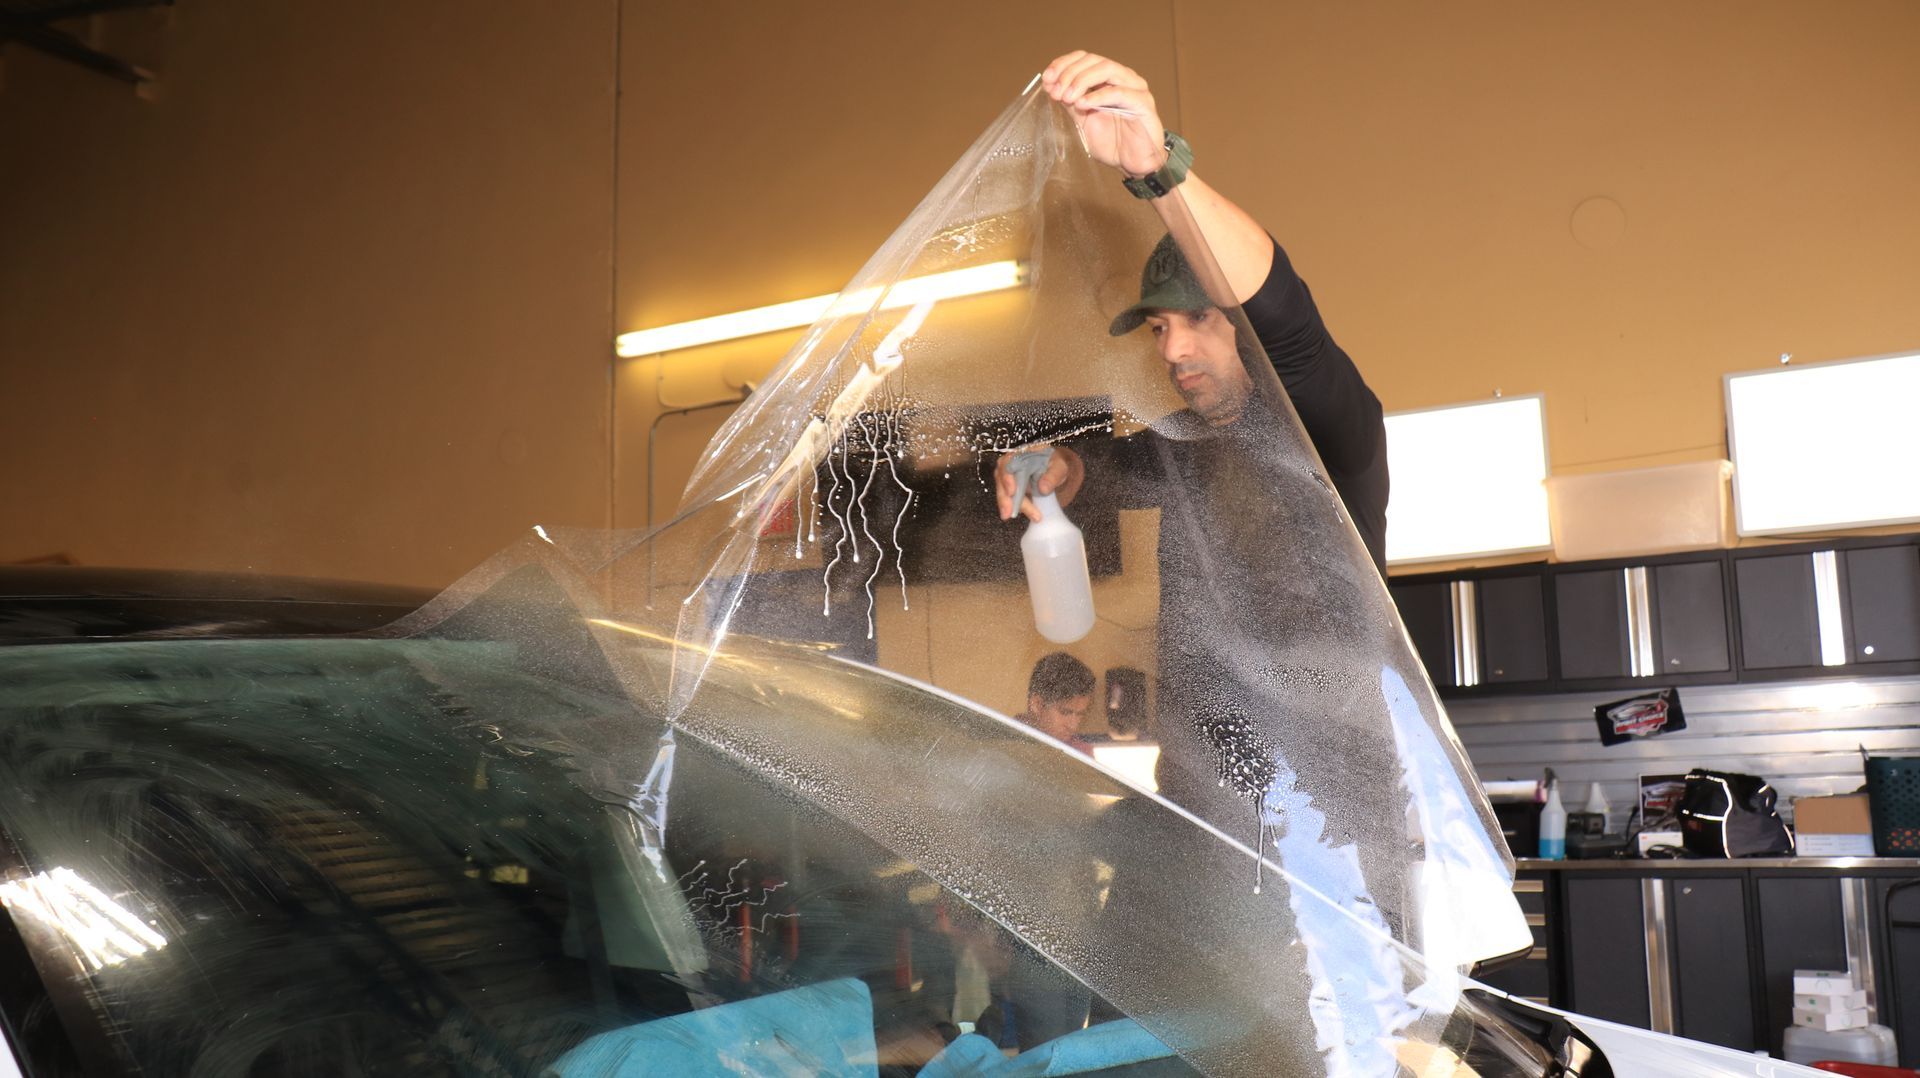
Step II - Applying the Tint
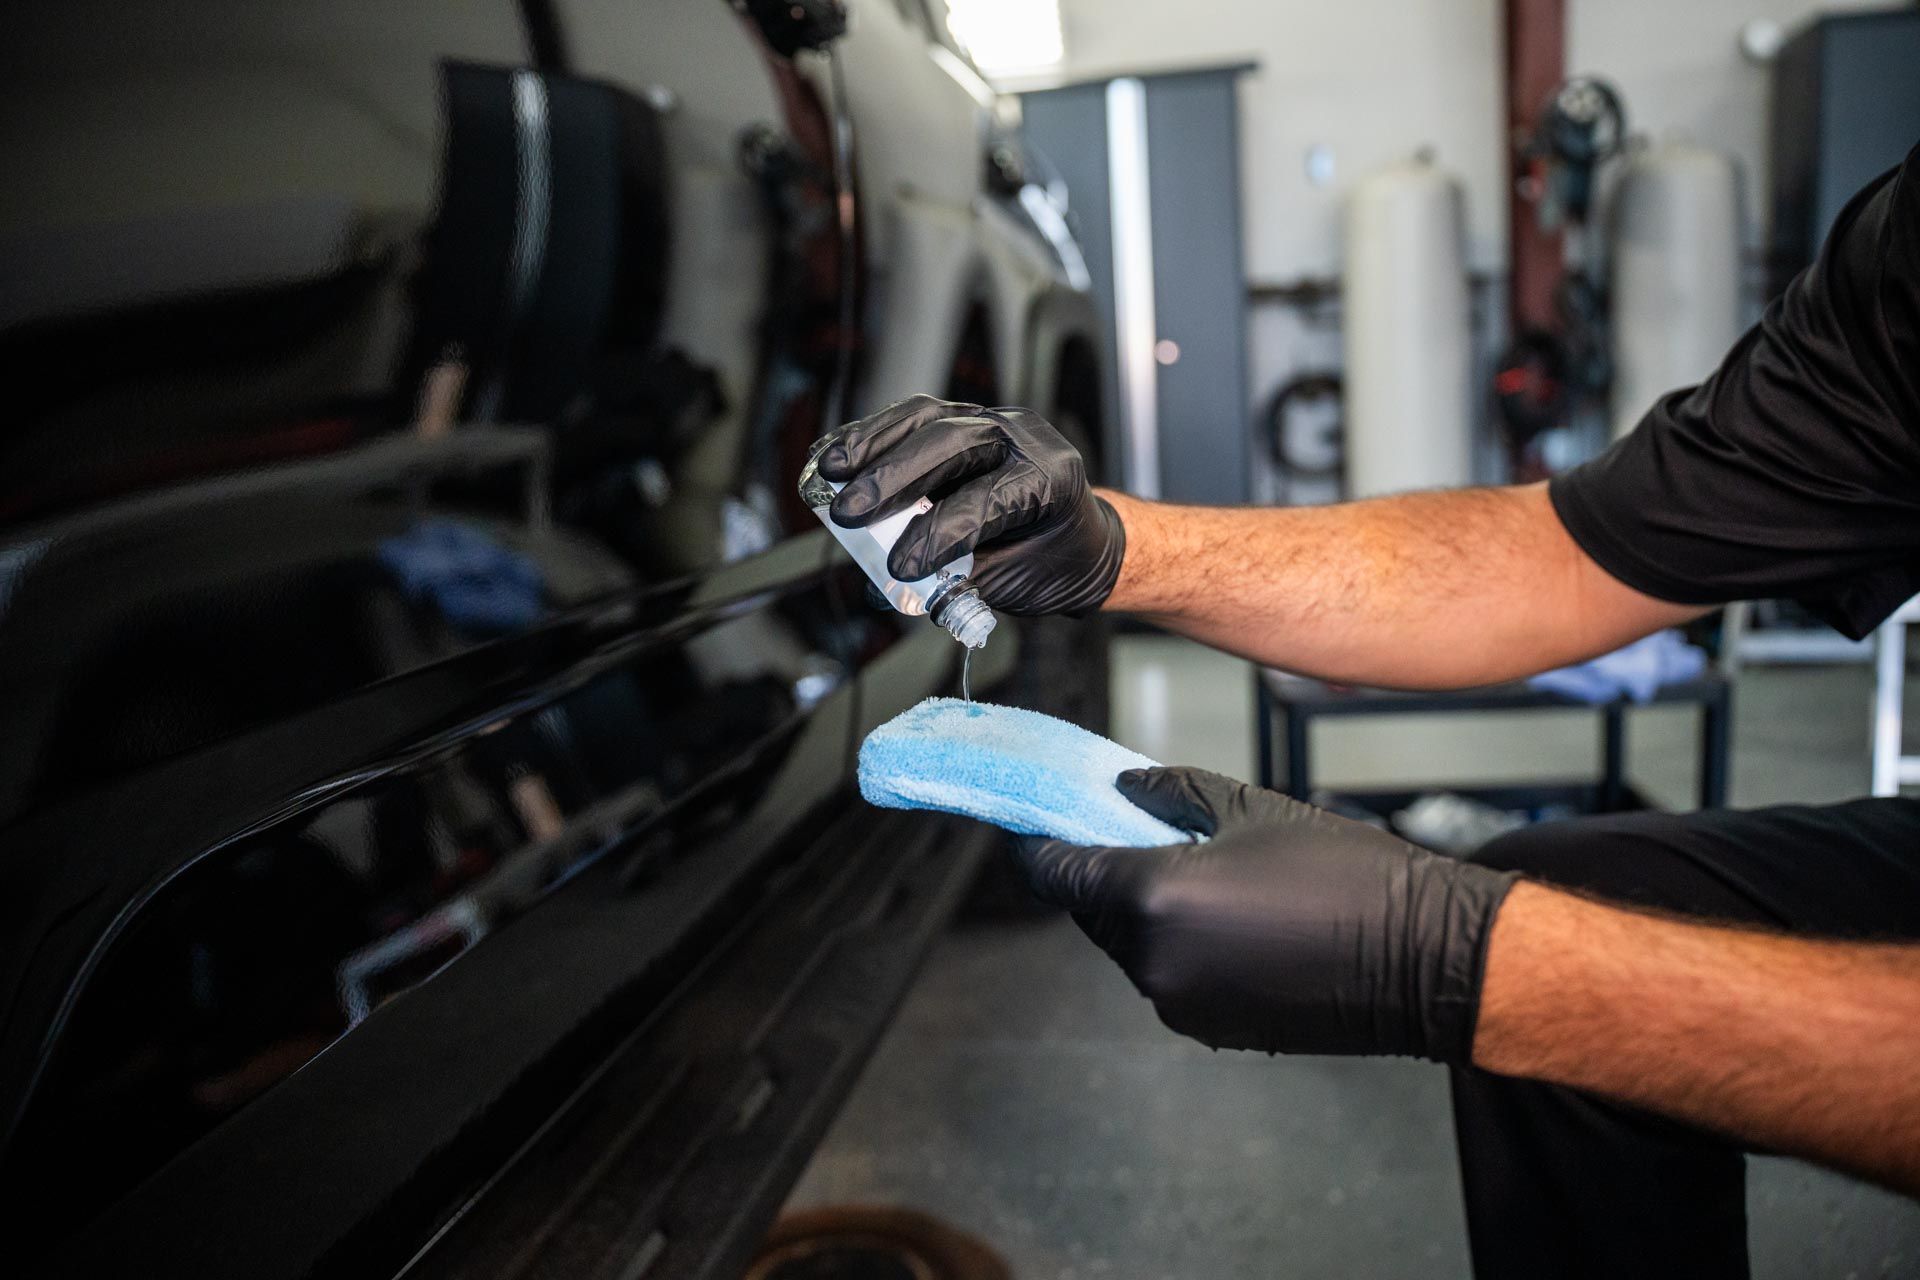
The adhesive side of the film is treated with a specialized soapy water solution, which acts as a lubricant and allows for repositioning if necessary. Our technician starts applying the film from the top of the window, slowly working downward with precision. Using high-quality squeegees, we remove air bubbles and excess moisture while the film is positioned. This technique is crucial for achieving a smooth finish without creases or bubbles—common issues you might encounter with DIY attempts.
Step III - Trimming Excess Film
Once the film is perfectly applied and smoothed out, we trim away any excess material using sharp utility knives. Our technician carefully follows the window edges, ensuring that only the needed portion of film remains affixed. Precision during this step is paramount—an incorrect cut can lead to frayed edges or compromised appearance that detracts from the professional finish you're paying for.
Post-Installation Care Tips
Taking care of your newly tinted windows is crucial for maintaining their appearance and functionality. These first few days after installation are critical for ensuring you get the maximum lifespan from your investment.
Let It Set
The most important rule: don't roll down your windows for at least 3 to 5 days after installation. This waiting period allows the film enough time to adhere completely to the glass, maximizing its lifespan. Every day you resist the temptation to lower those windows adds protection against peeling and bubbling that can occur if the film hasn't fully cured.
Initial Cleaning Restrictions
Avoid cleaning your tinted windows for at least the first week. This initial timeframe is critical while the adhesive bonds properly with the glass. Once you're past these early days, use only ammonia-free cleaners along with soft microfiber cloths when you begin your regular cleaning routine. Ammonia-based products can degrade the tint over time and affect its clarity, defeating the purpose of your investment.
Ongoing Maintenance
When you do start regular maintenance, wipe gently without using any abrasive materials or scrubbers on the tinted surface. Such harsh tools could scratch or damage the film, affecting both appearance and performance. We recommend regular visual inspections—take a moment every few weeks to check for any signs of peeling or bubbling around the edges. Catching these issues early means you can address them promptly, extending the life of your tint.
Ensuring Quality and Warranty
Quality Inspection
Once your tint has fully cured, take time to inspect the work. Look closely for any signs of bubbles, peeling, or gaps. A high-quality professional installation should appear smooth and uniform across the glass surface. Remember, it's not just aesthetics at stake—functionality depends on proper adherence too. Any issues you notice should be addressed with your installer while you're still within the warranty period.
Understanding Your Warranty
When choosing your installer, ask about warranty specifics—what's covered and for how long? Reputable shops offer warranties on their tinting services that cover common issues like peeling, cracking, and fading. By selecting a professional installer who provides a robust warranty, you can feel confident that you've made a long-lasting choice for your vehicle.
A little proactive effort goes a long way in ensuring both installation quality and warranty protection align with your needs. This approach gives you immediate aesthetic enhancements while securing peace of mind for potential future concerns.
Florida Legal Tinting Regulations
In Florida, navigating window tinting laws isn't just about aesthetics—it's equally about safety and legal compliance on the roads. These laws regulate how much light can pass through tinted windows using Visible Light Transmission (VLT), which measures the percentage of light allowed through your windows. A higher VLT percentage means more light enters, while a lower number indicates darker tint.
Florida Tinting Laws at a Glance
| Window Location | Sedans | SUVs/Trucks |
|---|---|---|
| Windshield | Non-reflective tint on top 4 inches only | Same as sedans |
| Front Side WindowsBack Side Windows | Must allow more than 28% light transmission | Must allow more than 28% light transmission |
| Back Side Windows | Must allow more than 15% light transmission | Any darkness permitted |
| Rear Window | Must allow more than 15% light transmission | Any darkness permitted |
Importance of Compliance
Ignoring these regulations can lead to traffic stops, fines, and the requirement to remove non-compliant tint. Beyond financial penalties, non-compliant tint could compromise your safety while driving, especially during nighttime or in poor weather conditions. Certain reflective or metallic finishes may also be restricted, so it's important to work with a knowledgeable installer who understands current Florida regulations.
Understanding and adhering to Florida's window tinting laws ensures compliance while giving you peace of mind. You'll enjoy the benefits of professional tinting—heat reduction, UV protection, and enhanced privacy—without worrying about legal issues down the road.
Final Thoughts
Professional
window tinting is more than just an aesthetic upgrade—it's a smart investment in your vehicle's comfort, protection, and long-term value. In South Florida's intense climate, quality tint acts as a shield against harmful UV rays, reduces interior heat, and helps preserve your upholstery and dashboard from sun damage.